XPOSED FOR LOLLIPOP (CM 12.1 AND BASED ROMS)
Step 1: Download Necessary Files
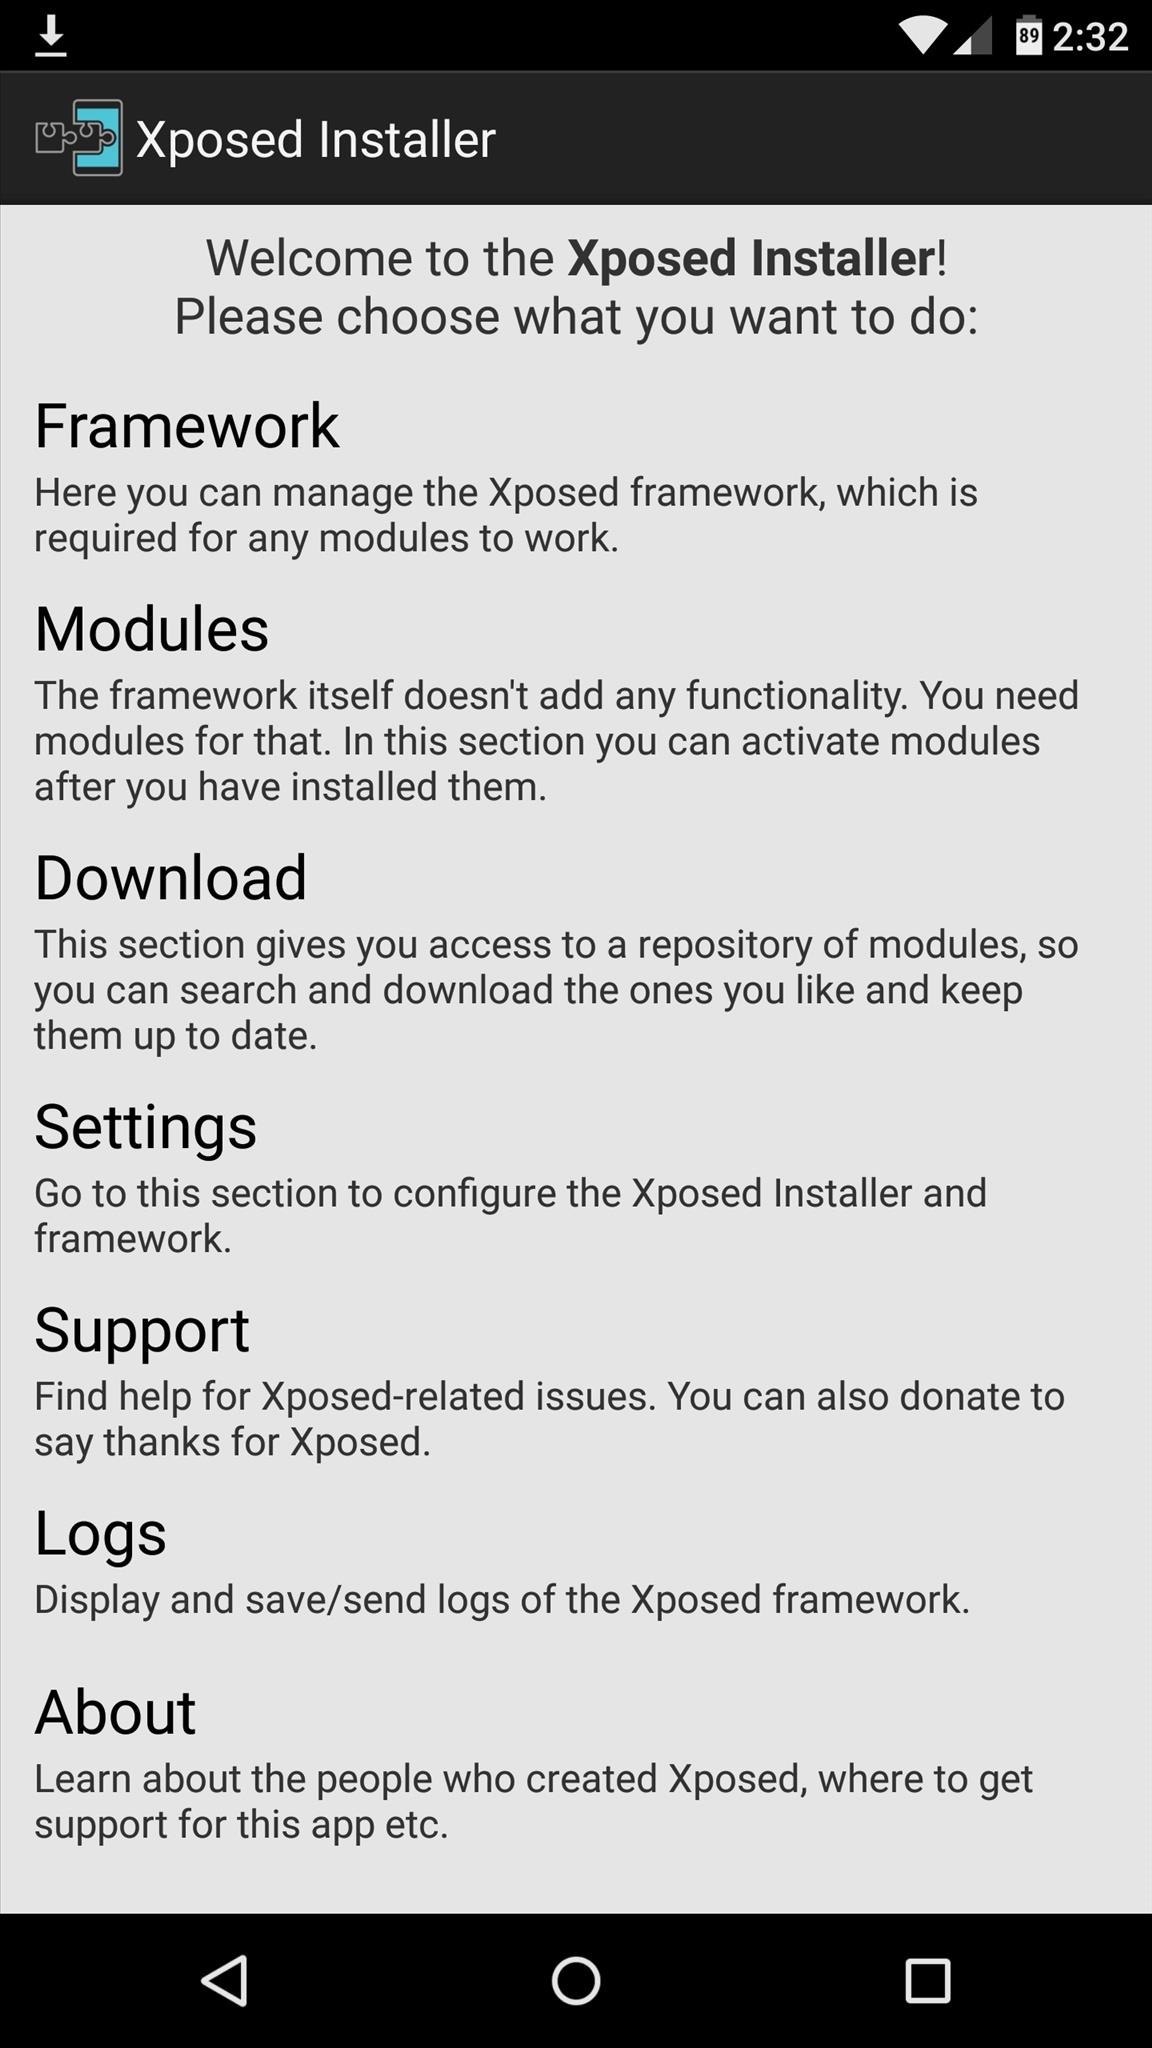
There are two core elements to Xposed—one is the Xposed Framework, which lays all of the groundwork, and the other is the Xposed Installer app, which allows you to download and manage modules. First up, grab a copy of the Installer from the following link:
- Xposed Installer APK
- other link
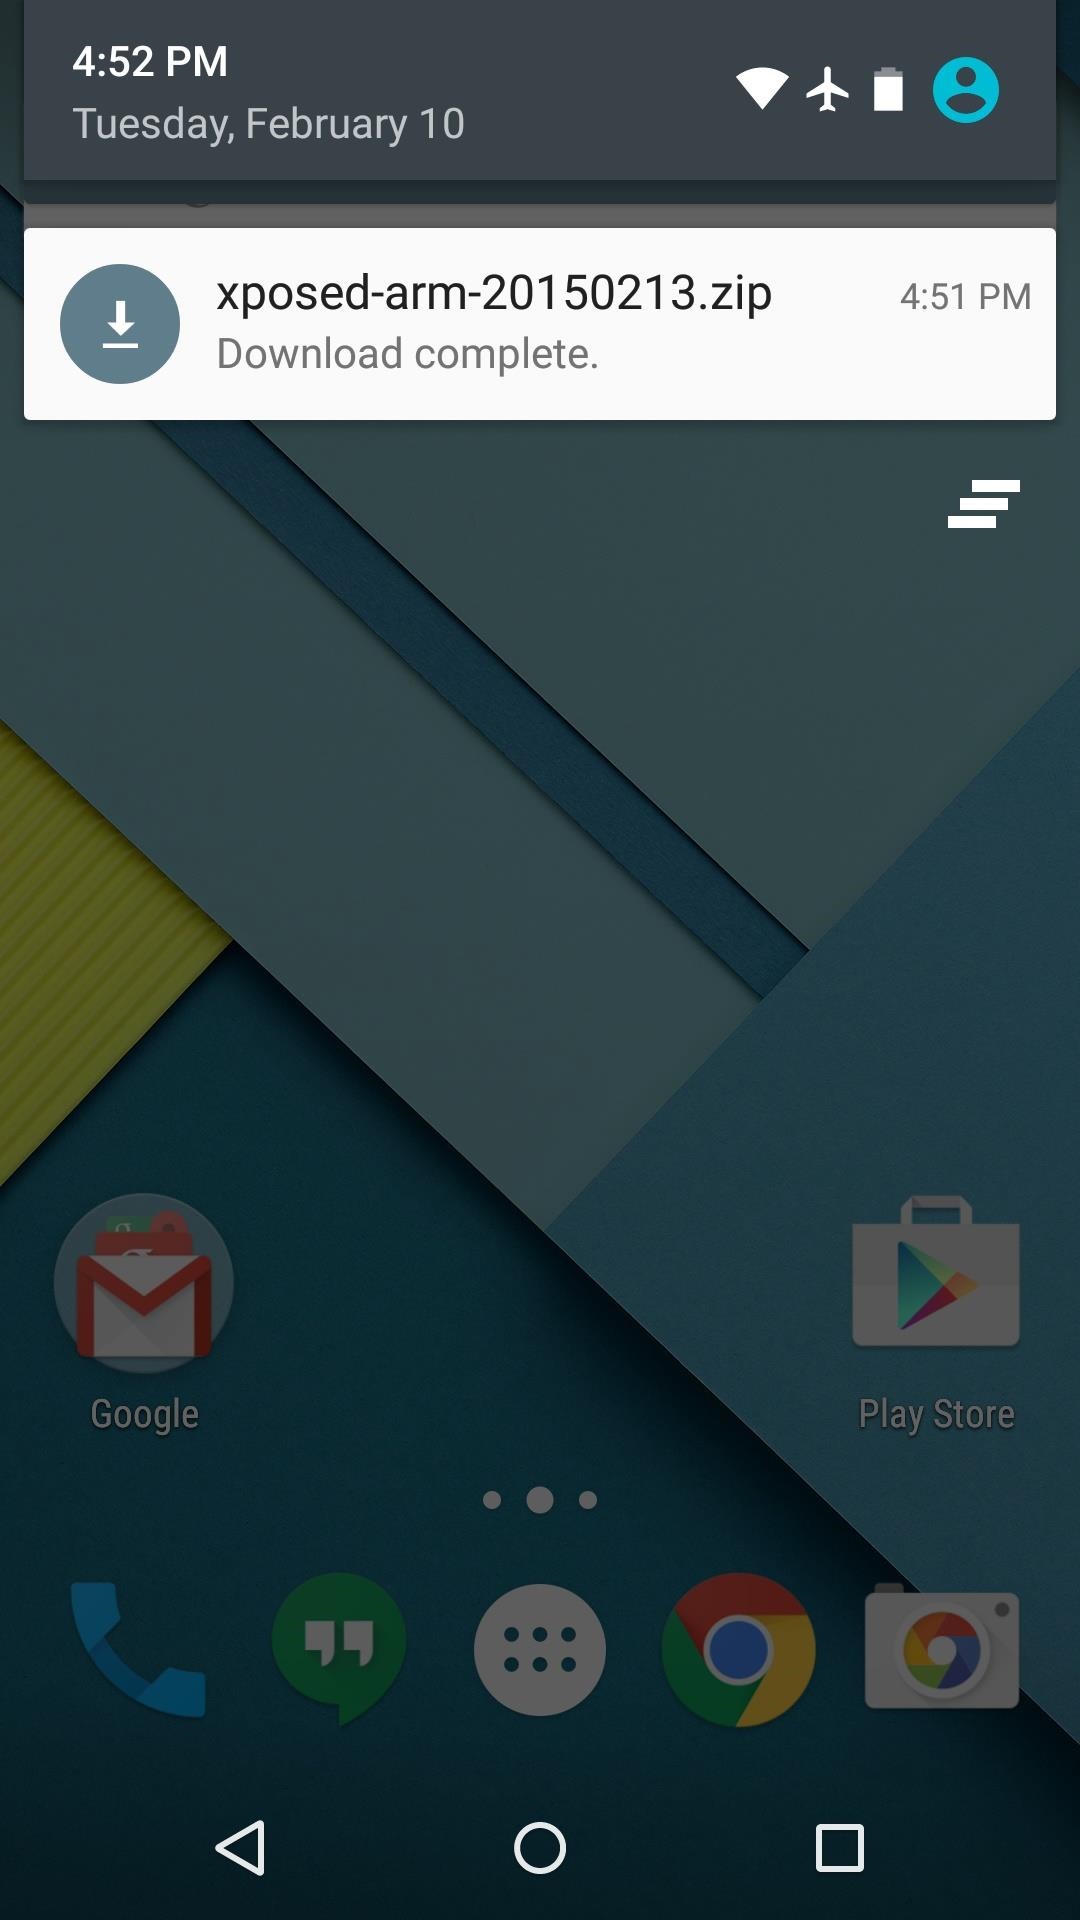
In these early stages of Lollipop development, the Framework will have to be flashed in custom recovery. There are 3 different version of the Framework, and they each correspond to a different type of processor (ARM, ARM 64, x86). If you're not sure about the type of processor your Android device uses, check the spec sheet on a site like GSMArena, then download the corresponding ZIP file from one of these three links:
- Xposed Framework ZIP
- other link
Step 2: Boot into Custom Recovery
When the files have finished downloading, the next step is to boot into custom recovery. To do that, start by powering your device completely off. This next part may vary, but for most devices, press and hold the volume down and power buttons simultaneously.
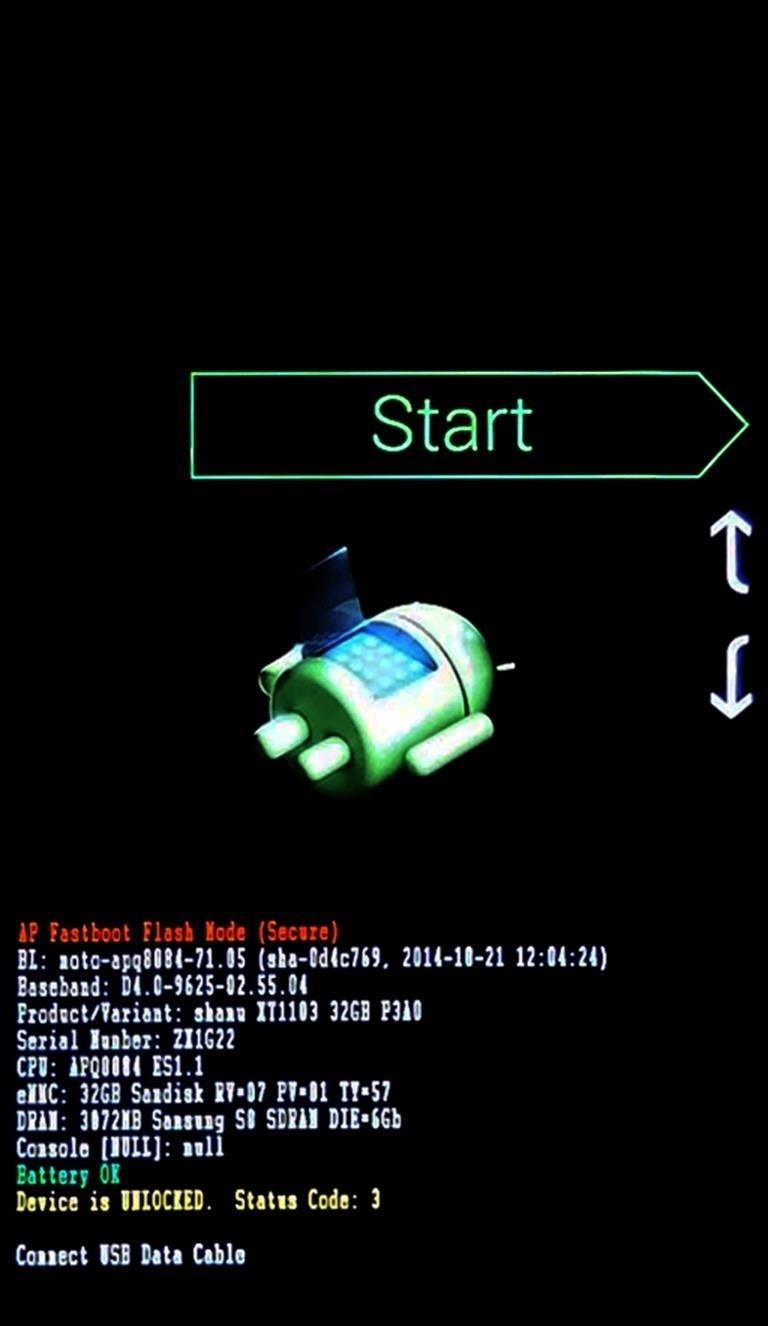
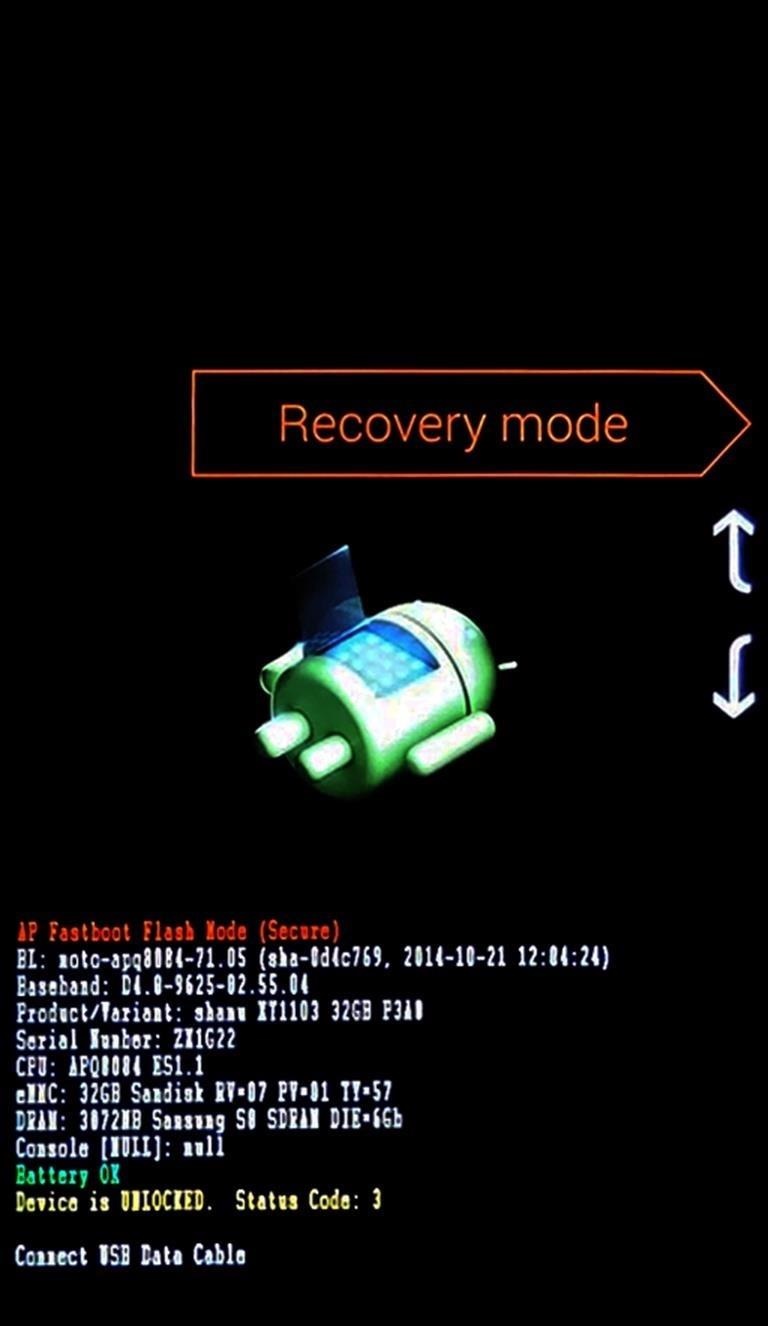
This will bring up Android's Bootloader menu. From here, use the volume down button to highlight "Recovery mode," then press the power button to select it.
Step 3: Install the Framework in Custom Recovery
Before you flash anything in custom recovery, it's always a good idea to make a full NANDroid backup. That's extra important in this case, since the Xposed Framework is in its early stages and may cause issues with some devices. Do not skip this step!
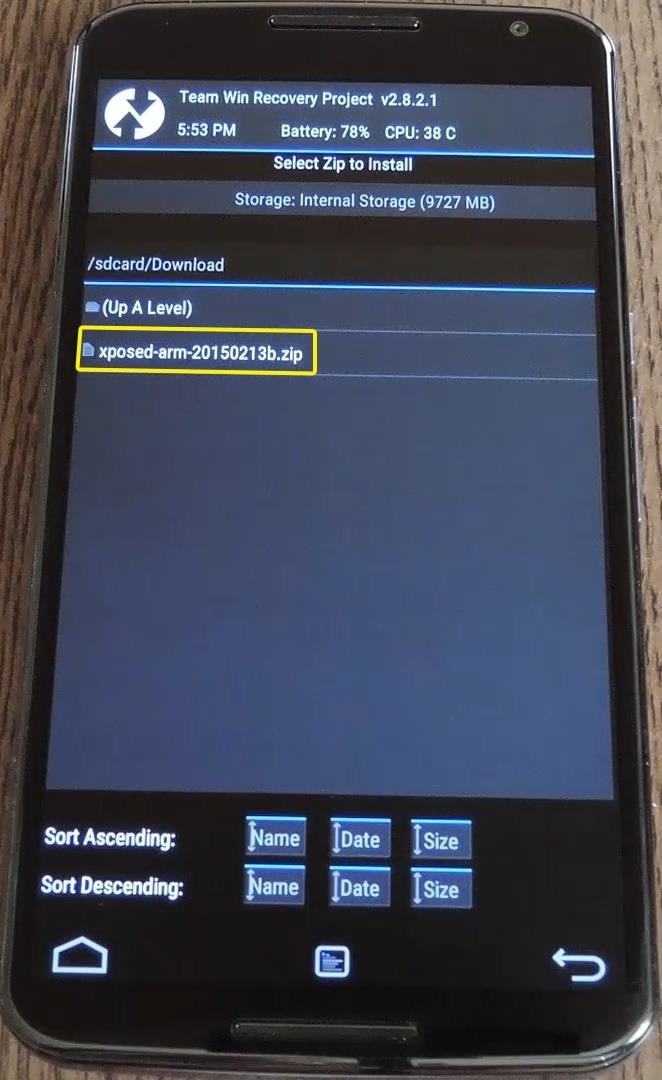
Then, to get started, go ahead and tap the "Install" button from TWRP's main menu. Next, navigate to your device's Download folder, then select the Xposed ZIP file that you downloaded in Step 1.

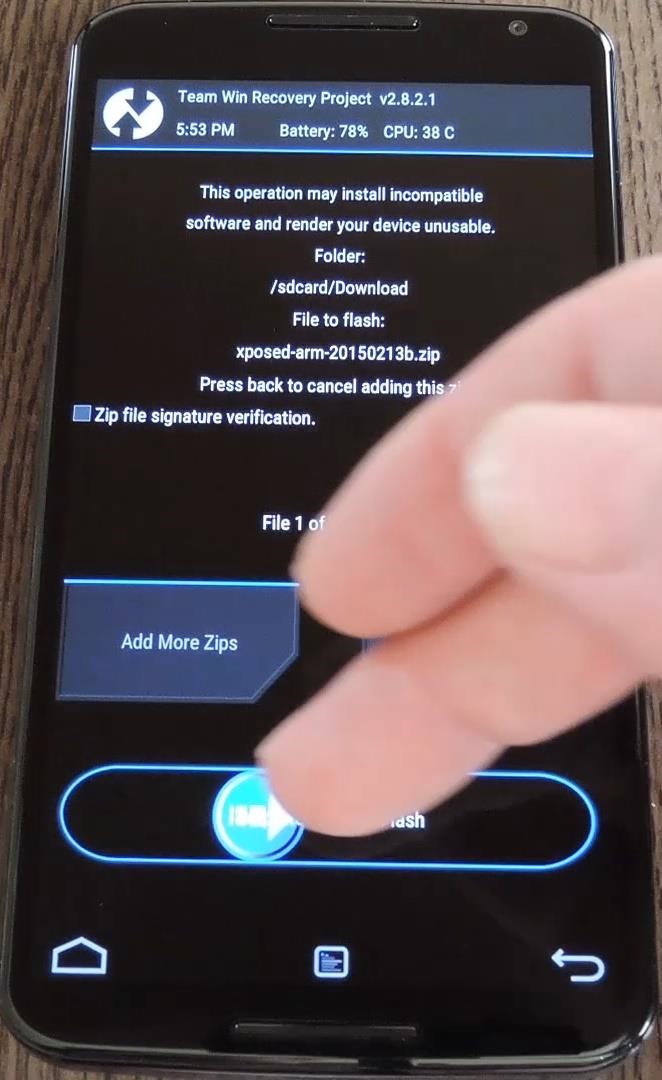
After that, just swipe the slider at the bottom of the screen to install the Framework, and when that's finished, tap "Reboot System."
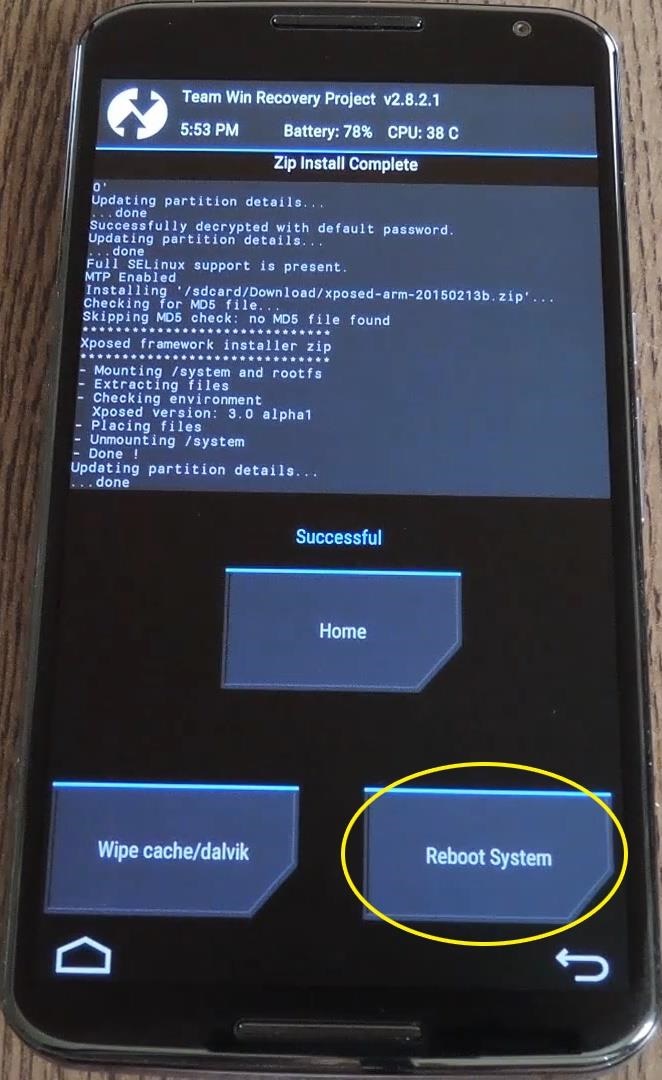
Your device will take longer than normal to boot up here. This is because the Xposed Framework ZIP had to clear away some library files, which will need to be restored. Expect this process to take at least 10 minutes.
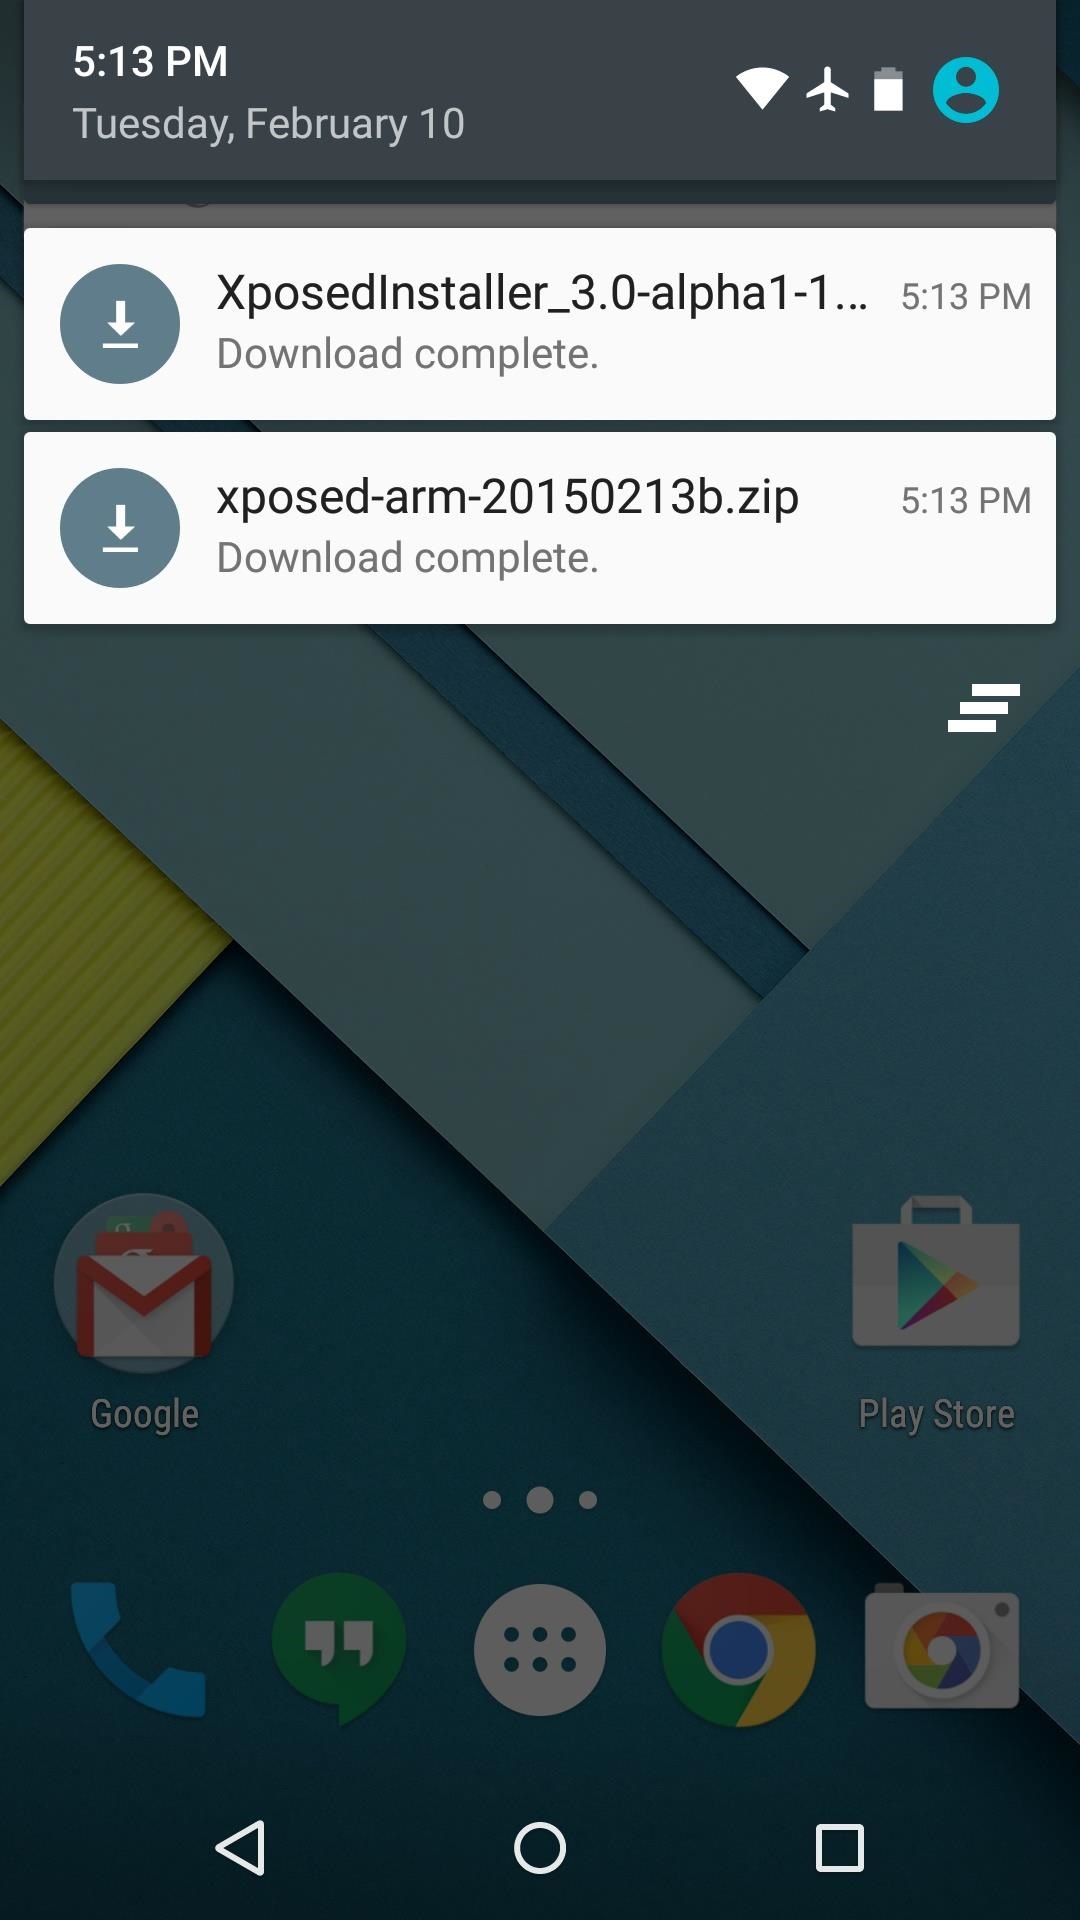
Step 4: Install the Xposed Installer App
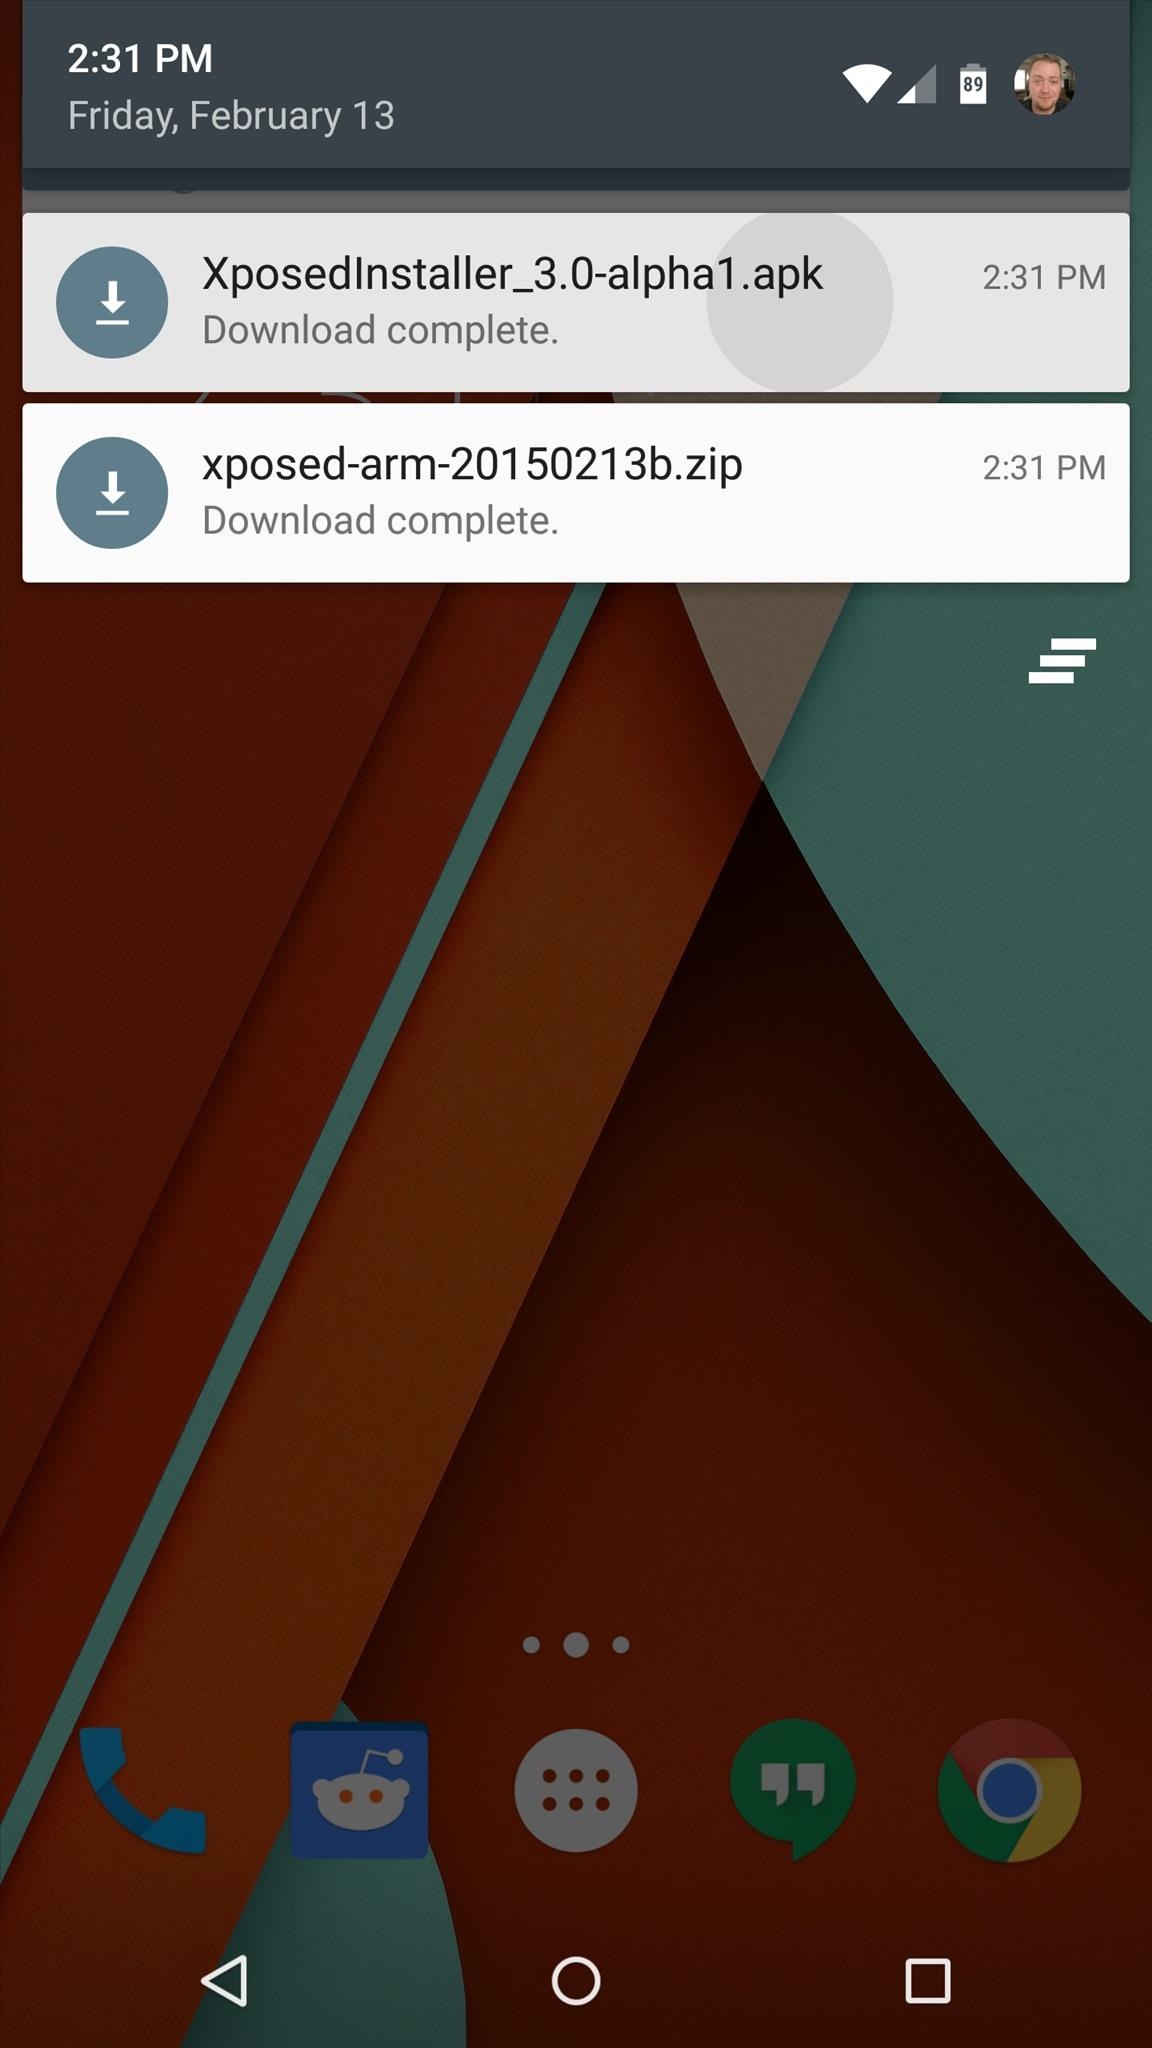
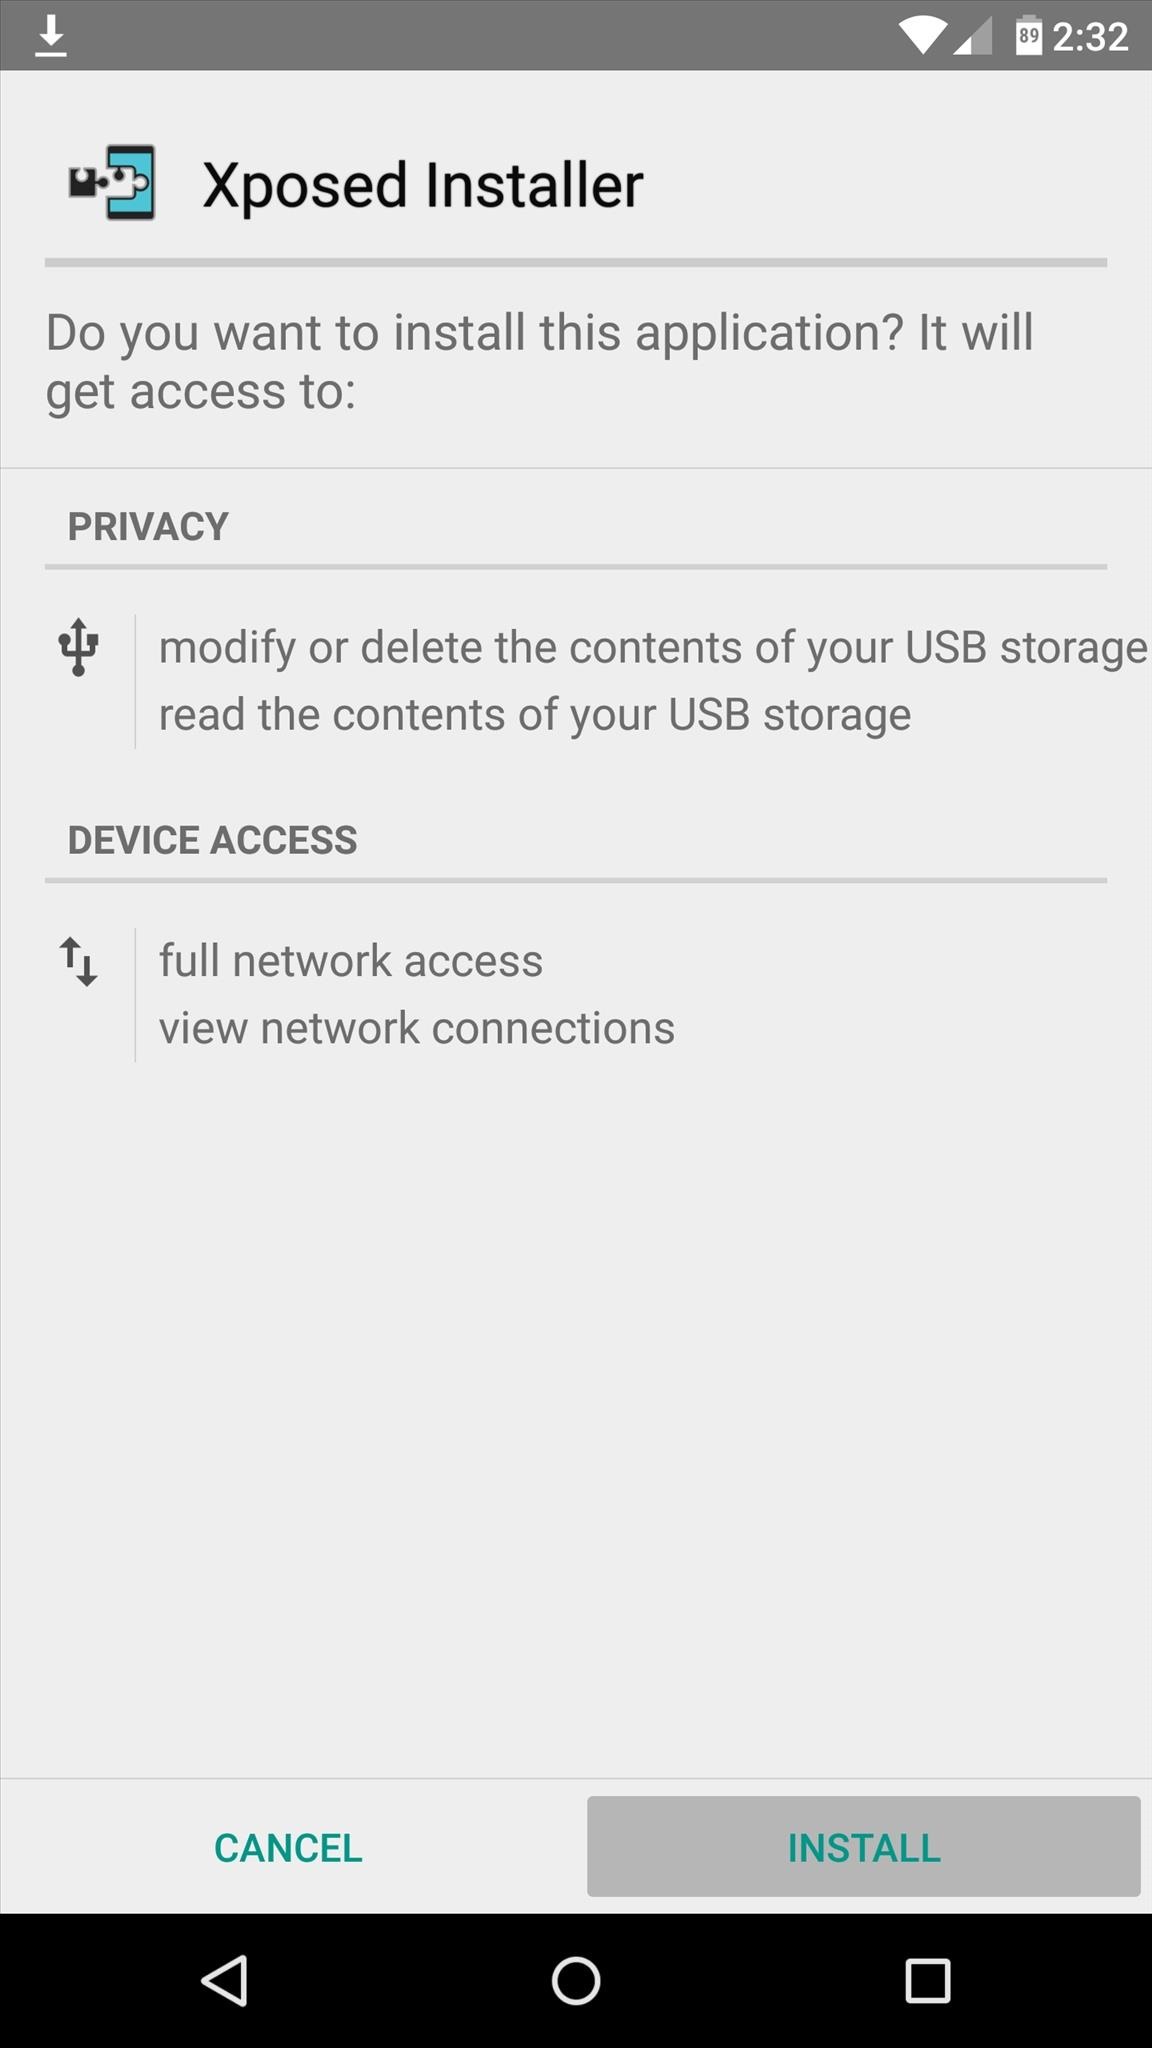
When you get back up, it's time to install the actual Xposed Installer app. Tap the Download Complete notification for the "XposedInstaller_3.0-alpha3.apk" file, then press "Install" and "Open" on the next two menus.
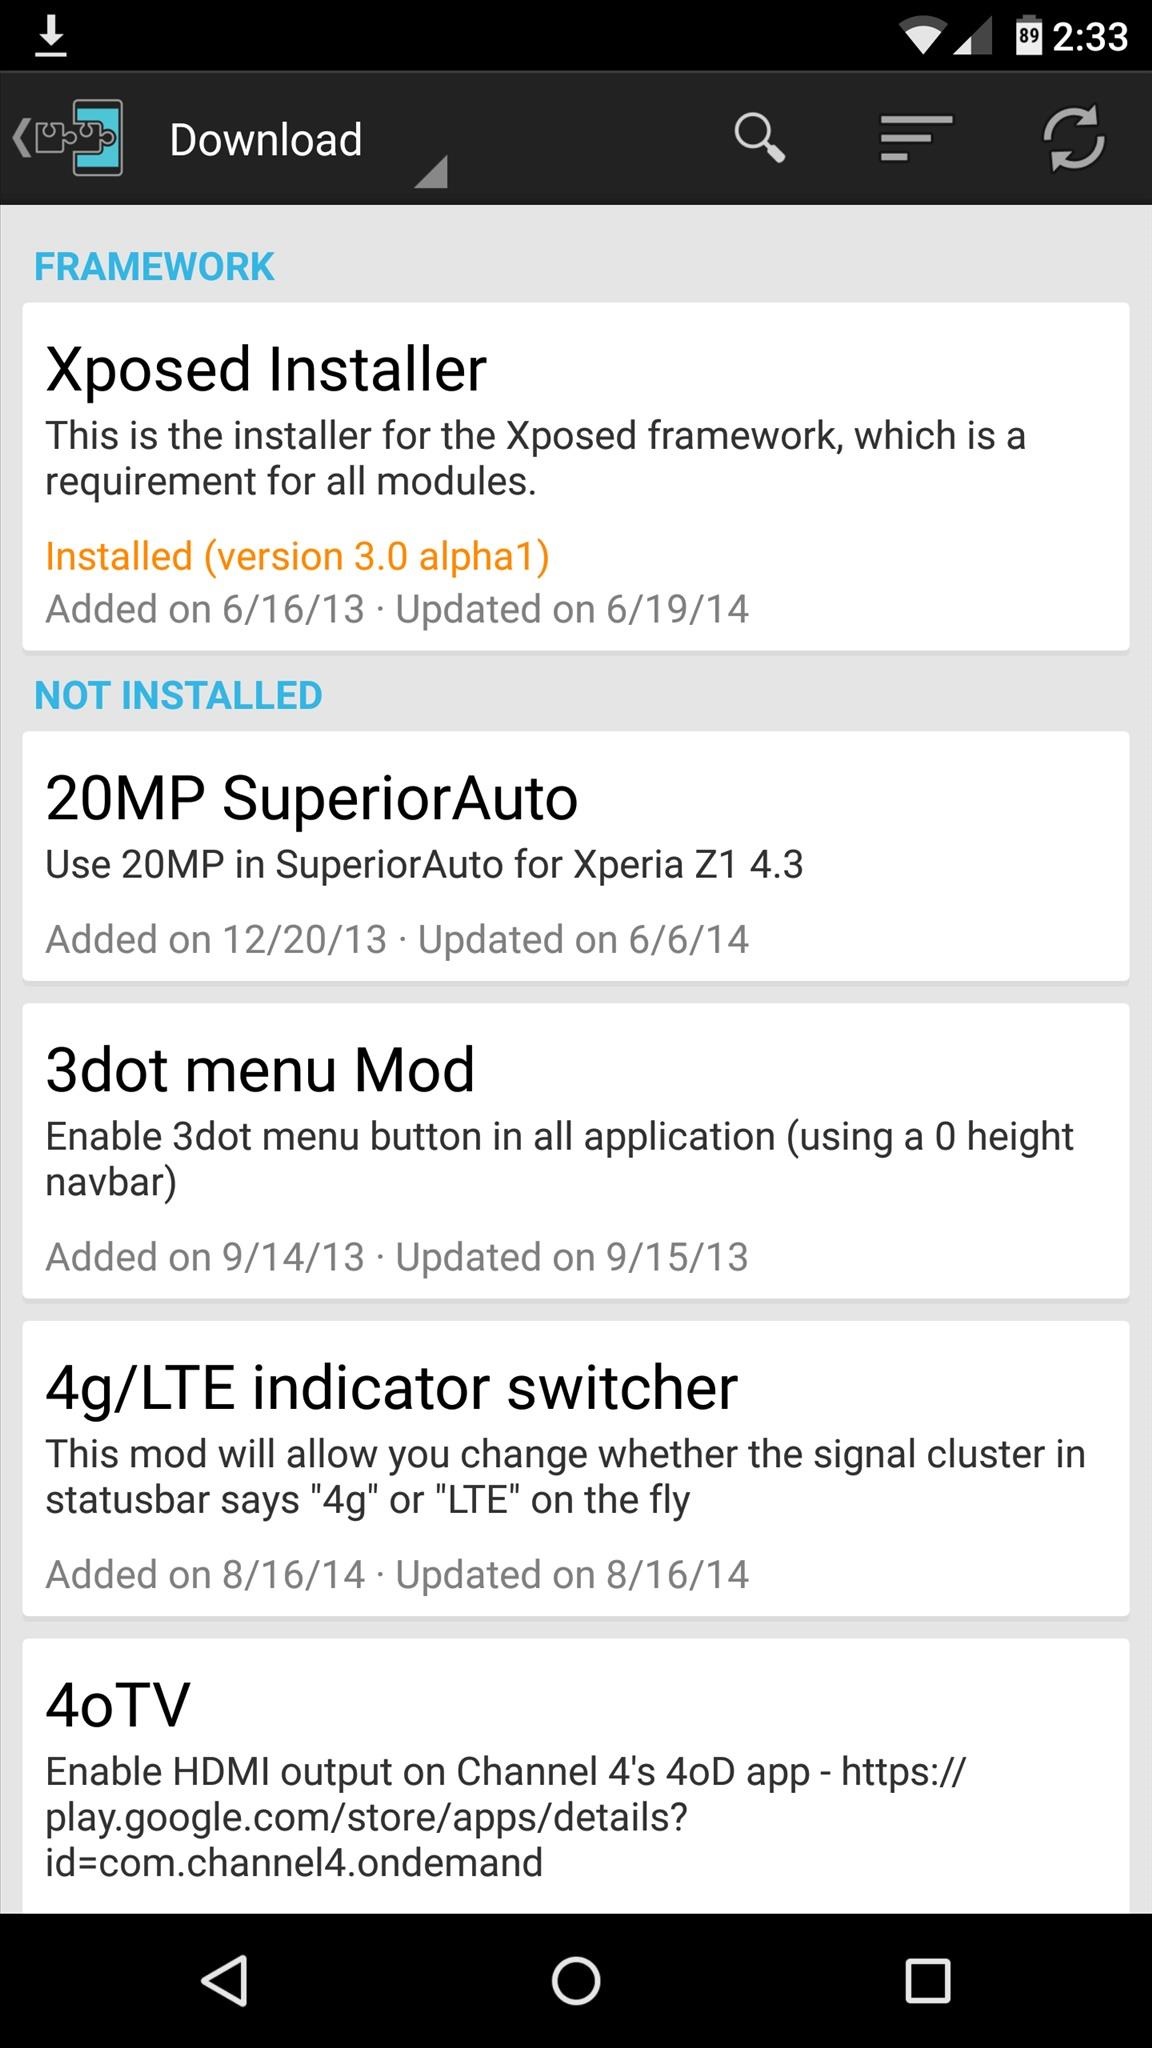
At this point, you should be looking at that familiar Xposed interface we all know and love. Head to the "Download" section to begin browsing modules, but keep in mind that some may not work on Lollipop.