Showing posts with label customisation. Show all posts

[ROM]HYBRID LG G3 -- BASED ON DARK Lfor mt6592 octacore devices

[ROM]HYBRID LG G3 -- BASED ON DARK L for mt6592 octacore devices


Great news to SKK LYNX the porting team ARGN has released a new ROM LG G3 themed AOSP ROM with amazing features

** Bugless ROM*
* LG G3 themed UI*
* Google keyboard*
* More Ram Space*
* Good Battery saver *
* Stable and Smooth*
* Increased Camera Quality*
* Dolby Effects added*
="border-style: initial; border-width: 0px; box-sizing: border-box; margin: 0px; padding: 0px;" width="738px">
* Bloat Wares Removed*
* Fully Deodexed *
* LG G3 ringtones *
* Dark L Features 4G speed H+
* And Much More.......


HOW TO INSTALL?
(Phils/TWRP/CWM)
Go to recovery...
Clean to install new rom
install zip
after installing the zip wipe cache and dalvik/art cache then REBOOT!
and choose no.

--CREDITS--
UNITED OF LYNX PORTING TEAM
TEAM ARGN
DARK L TEAM

HOW TO FLASH A ROM USING CTR RECOVERY

HOW TO FLASH A ROM USING CTR RECOVERY

If you fear of bricking your device then make a backup by going into 'Backup and Restore' option and click on Backup. It will backup your whole system files with data except SD Card data.
How to Flash Custom Roms on Gionee M2 using CTR Recovery | With Screenshots

Click on Wipe Menu and then click the first one Wipe Preflash to format system, data and cache files. After they are done, swipe left to go back.How to Flash Custom Roms on Gionee M2 using CTR Recovery | With Screenshots


Now, tap the custom rom zip which you want to install.

How to Flash Custom Roms on Gionee M2 using CTR Recovery | With Screenshots
The rom will start to install.

How to Flash Custom Roms on Gionee M2 using CTR Recovery | With Screenshots

 After installation, you will see this.
How to Flash Custom Roms on Gionee M2 using CTR Recovery | With Screenshots
Now, swipe left to go back to main screen and click 'Reboot the phone'

How to Flash Custom Roms on Gionee M2 using CTR Recovery | With Screenshots

After reboot, you will see Boot Animation of the Custom rom you just flashed.

How to Flash Custom Roms on Gionee M2 using CTR Recovery | With Screenshots
voila u flashed a custom rom
making any rom lag free

making any rom lag free

How to make your low end devices lag free and lightning fast.

HERE IS A SIMPLE BUT THE MOST EFFECTIVE WAY TO DO SO:

INSTRUCTIONS

Download this simple app from the link here (xda version) or here
if u liked the app plz buy it from here

(thanks t its developer)
and modify as shown below 

  Seeder Kills Lag in Android, Seriously Boosts Your Phone's Performance
XPOSED FOR LOLLIPOP (CM 12.1 AND BASED ROMS)

XPOSED FOR LOLLIPOP (CM 12.1 AND BASED ROMS)

XPOSED FOR LOLLIPOP (CM 12.1 AND BASED ROMS)


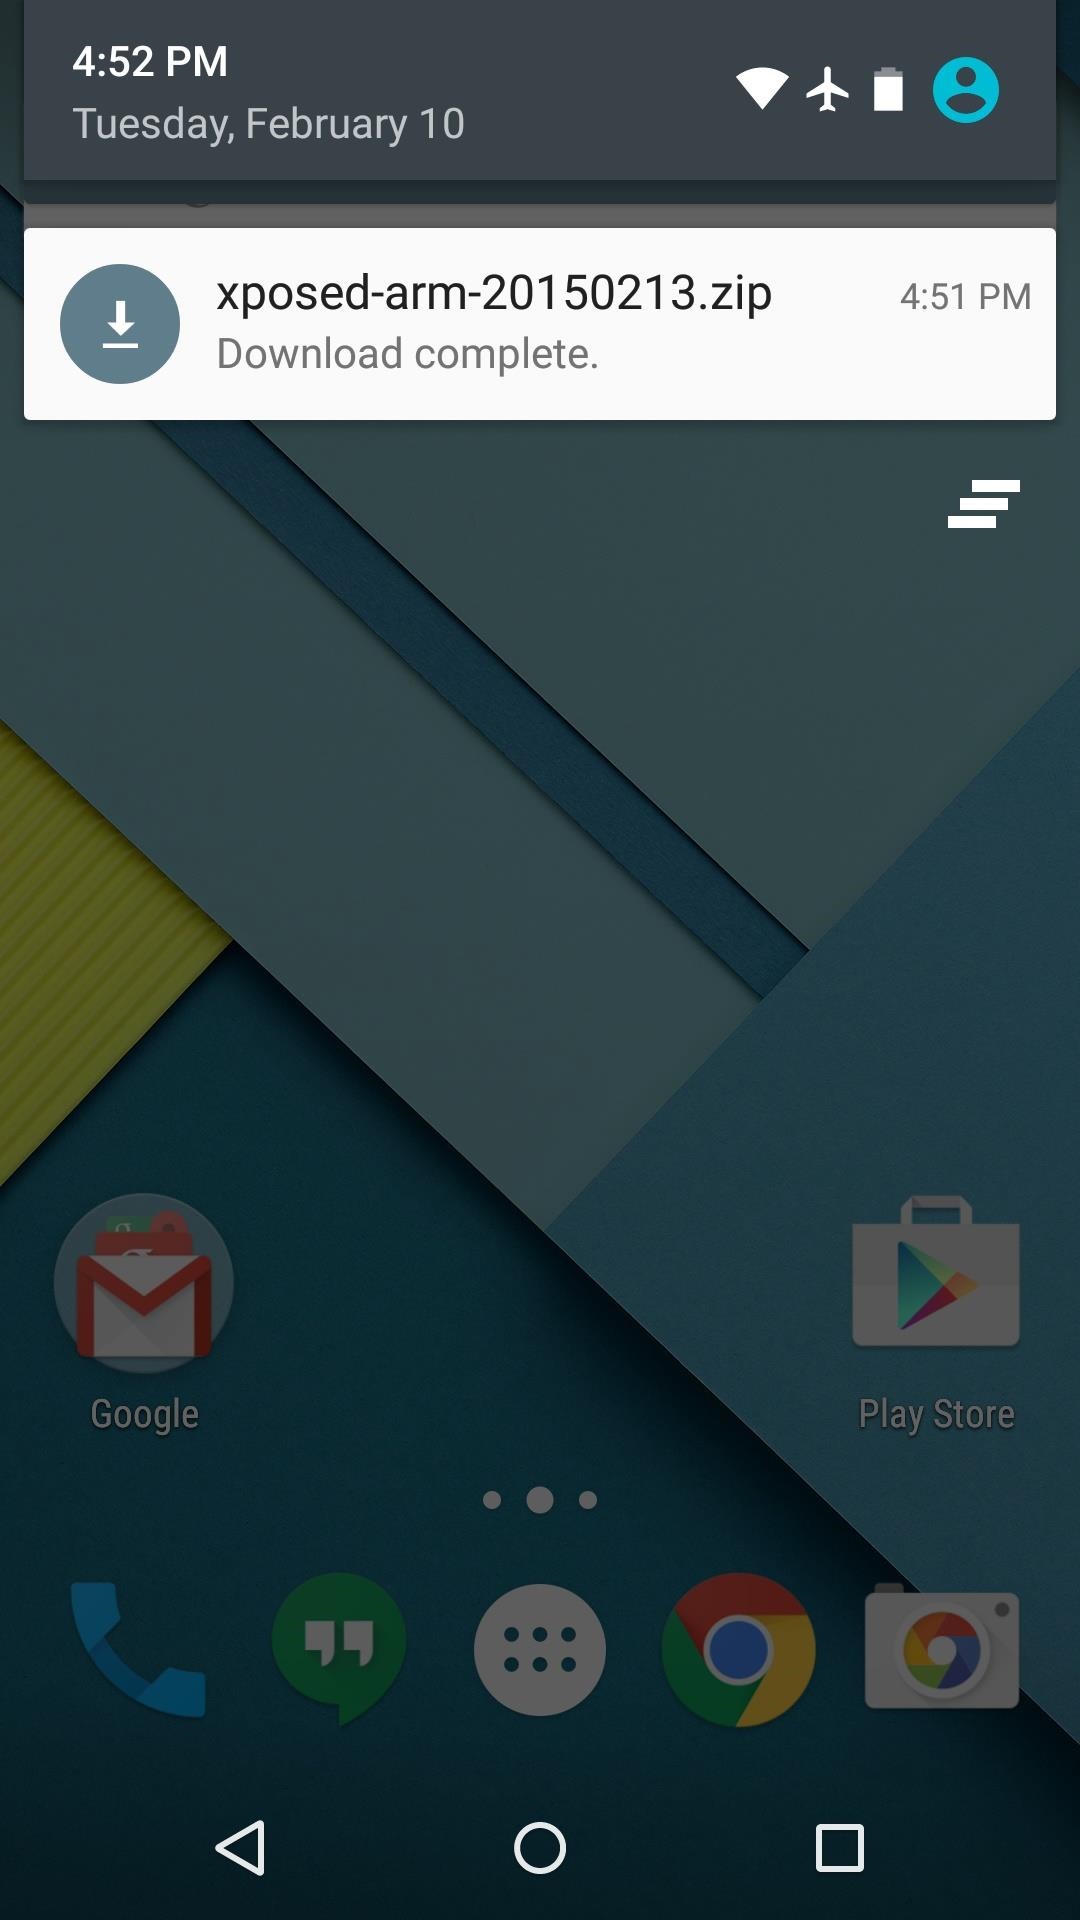
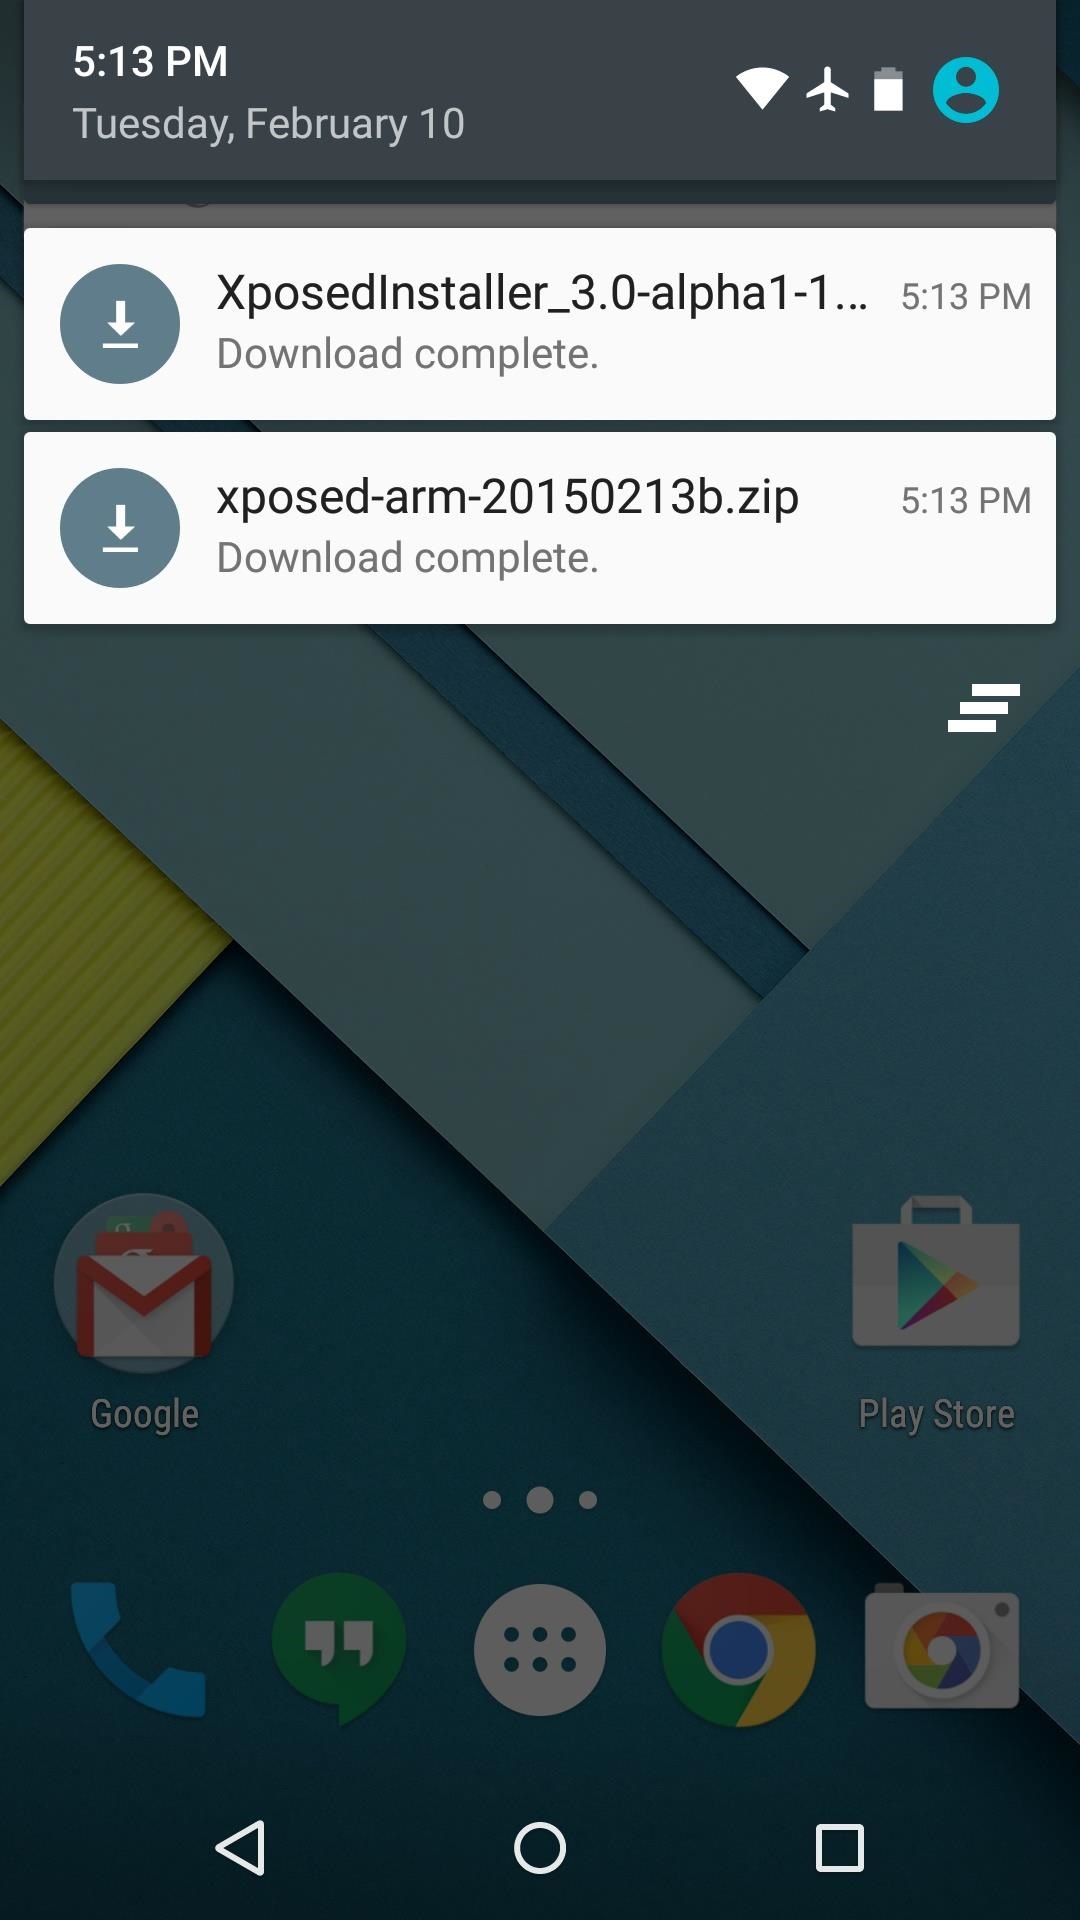
Step 1: Download Necessary Files

There are two core elements to Xposed—one is the Xposed Framework, which lays all of the groundwork, and the other is the Xposed Installer app, which allows you to download and manage modules. First up, grab a copy of the Installer from the following link:
In these early stages of Lollipop development, the Framework will have to be flashed in custom recovery. There are 3 different version of the Framework, and they each correspond to a different type of processor (ARM, ARM 64, x86). If you're not sure about the type of processor your Android device uses, check the spec sheet on a site like GSMArena, then download the corresponding ZIP file from one of these three links:

Step 2: Boot into Custom Recovery

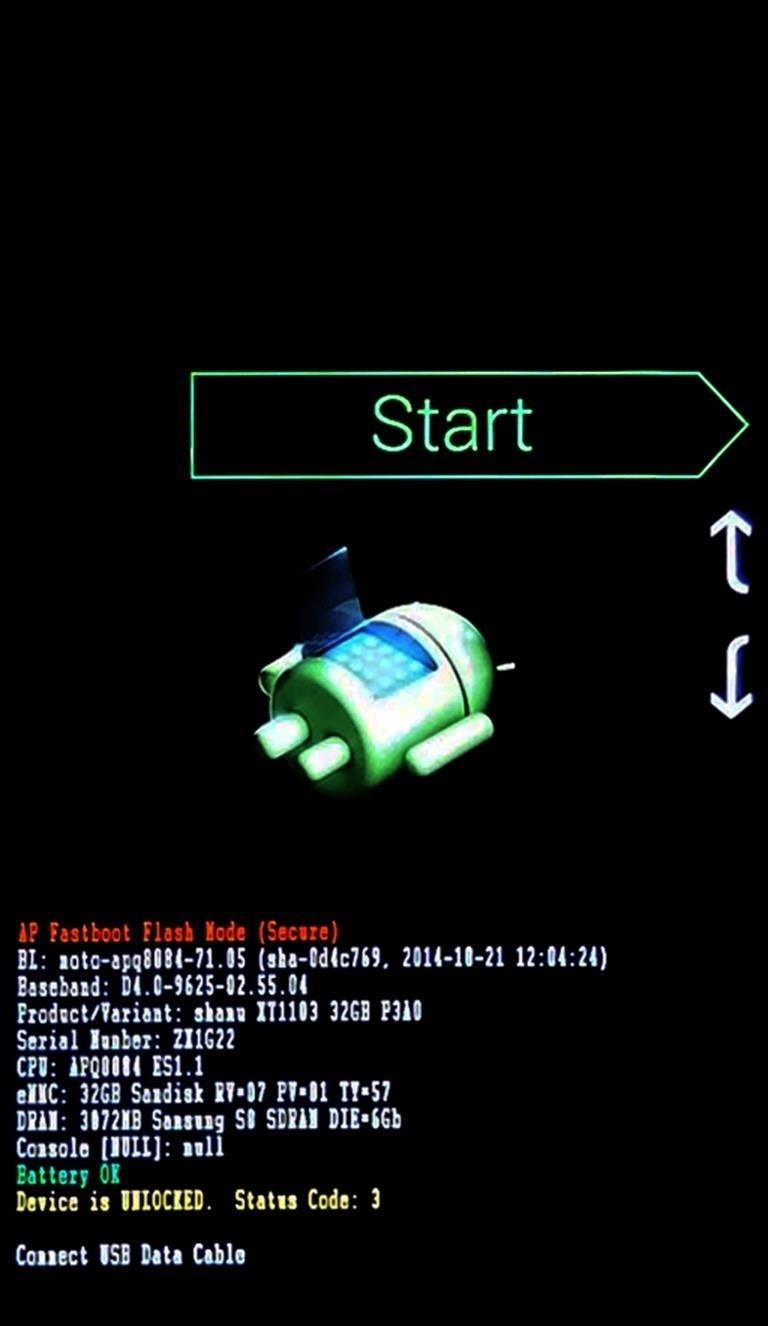
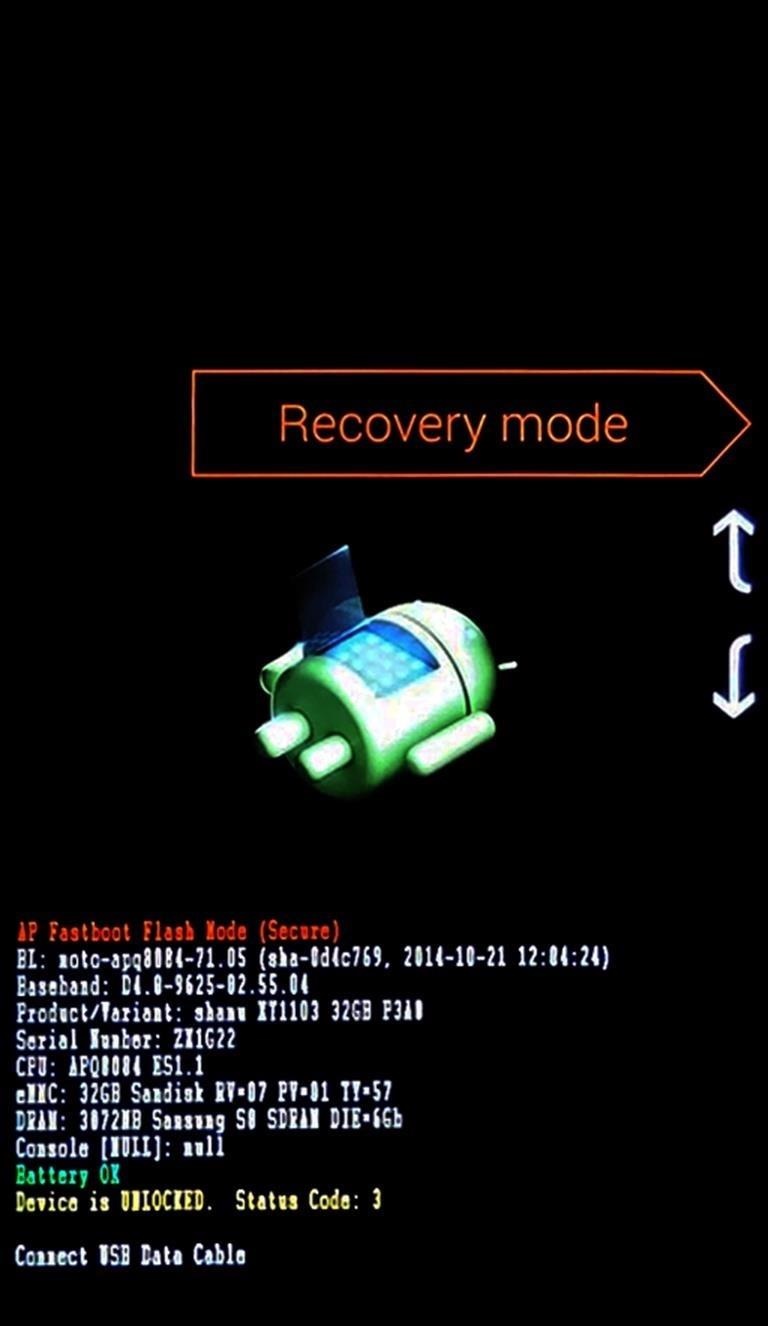
When the files have finished downloading, the next step is to boot into custom recovery. To do that, start by powering your device completely off. This next part may vary, but for most devices, press and hold the volume down and power buttons simultaneously.
This will bring up Android's Bootloader menu. From here, use the volume down button to highlight "Recovery mode," then press the power button to select it.

Step 3: Install the Framework in Custom Recovery

Before you flash anything in custom recovery, it's always a good idea to make a full NANDroid backup. That's extra important in this case, since the Xposed Framework is in its early stages and may cause issues with some devices. Do not skip this step!
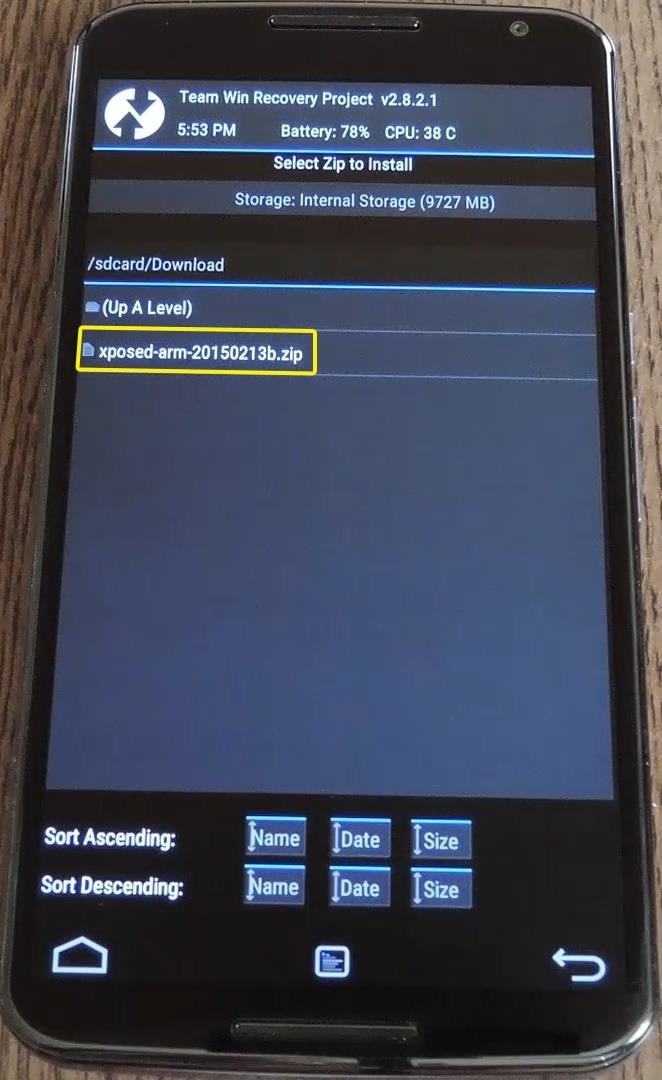
Then, to get started, go ahead and tap the "Install" button from TWRP's main menu. Next, navigate to your device's Download folder, then select the Xposed ZIP file that you downloaded in Step 1.
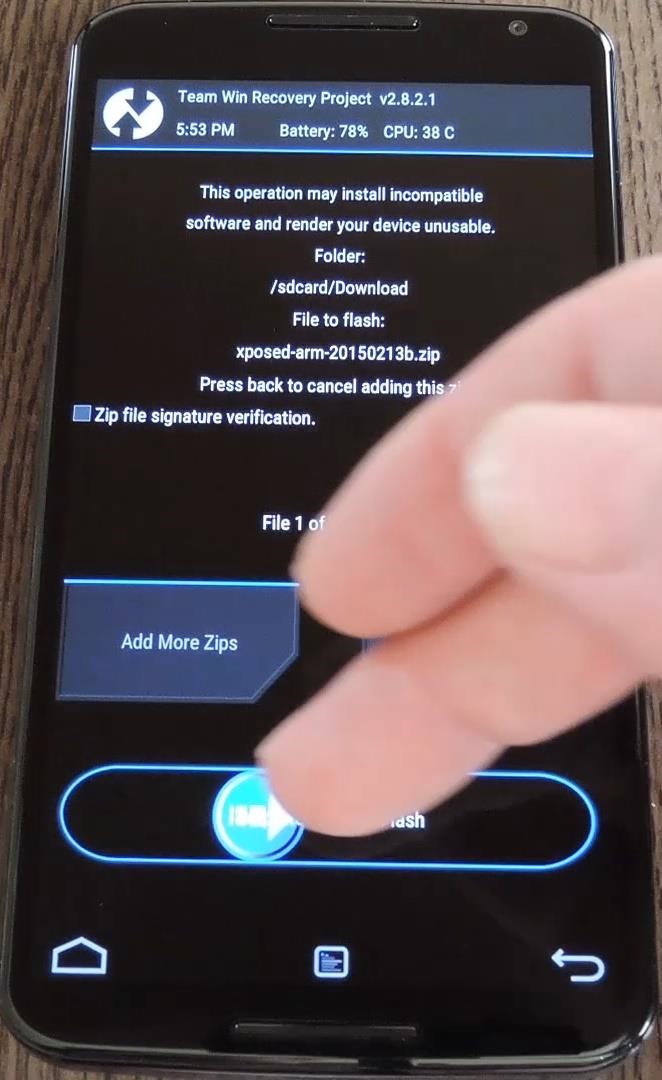
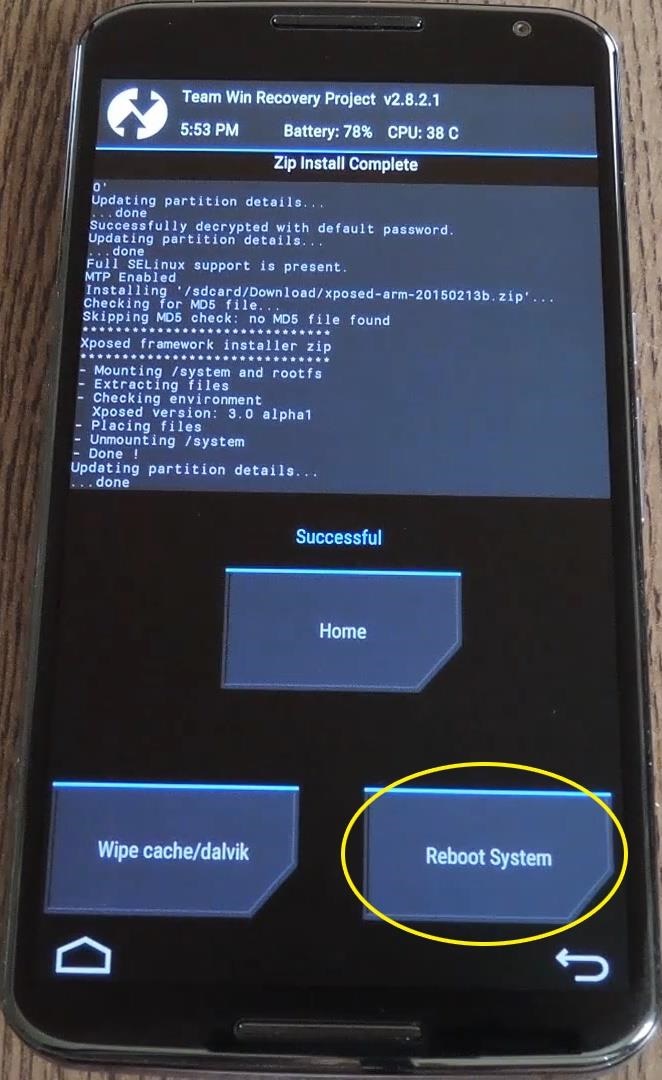
After that, just swipe the slider at the bottom of the screen to install the Framework, and when that's finished, tap "Reboot System."
Your device will take longer than normal to boot up here. This is because the Xposed Framework ZIP had to clear away some library files, which will need to be restored. Expect this process to take at least 10 minutes.

Step 4: Install the Xposed Installer App

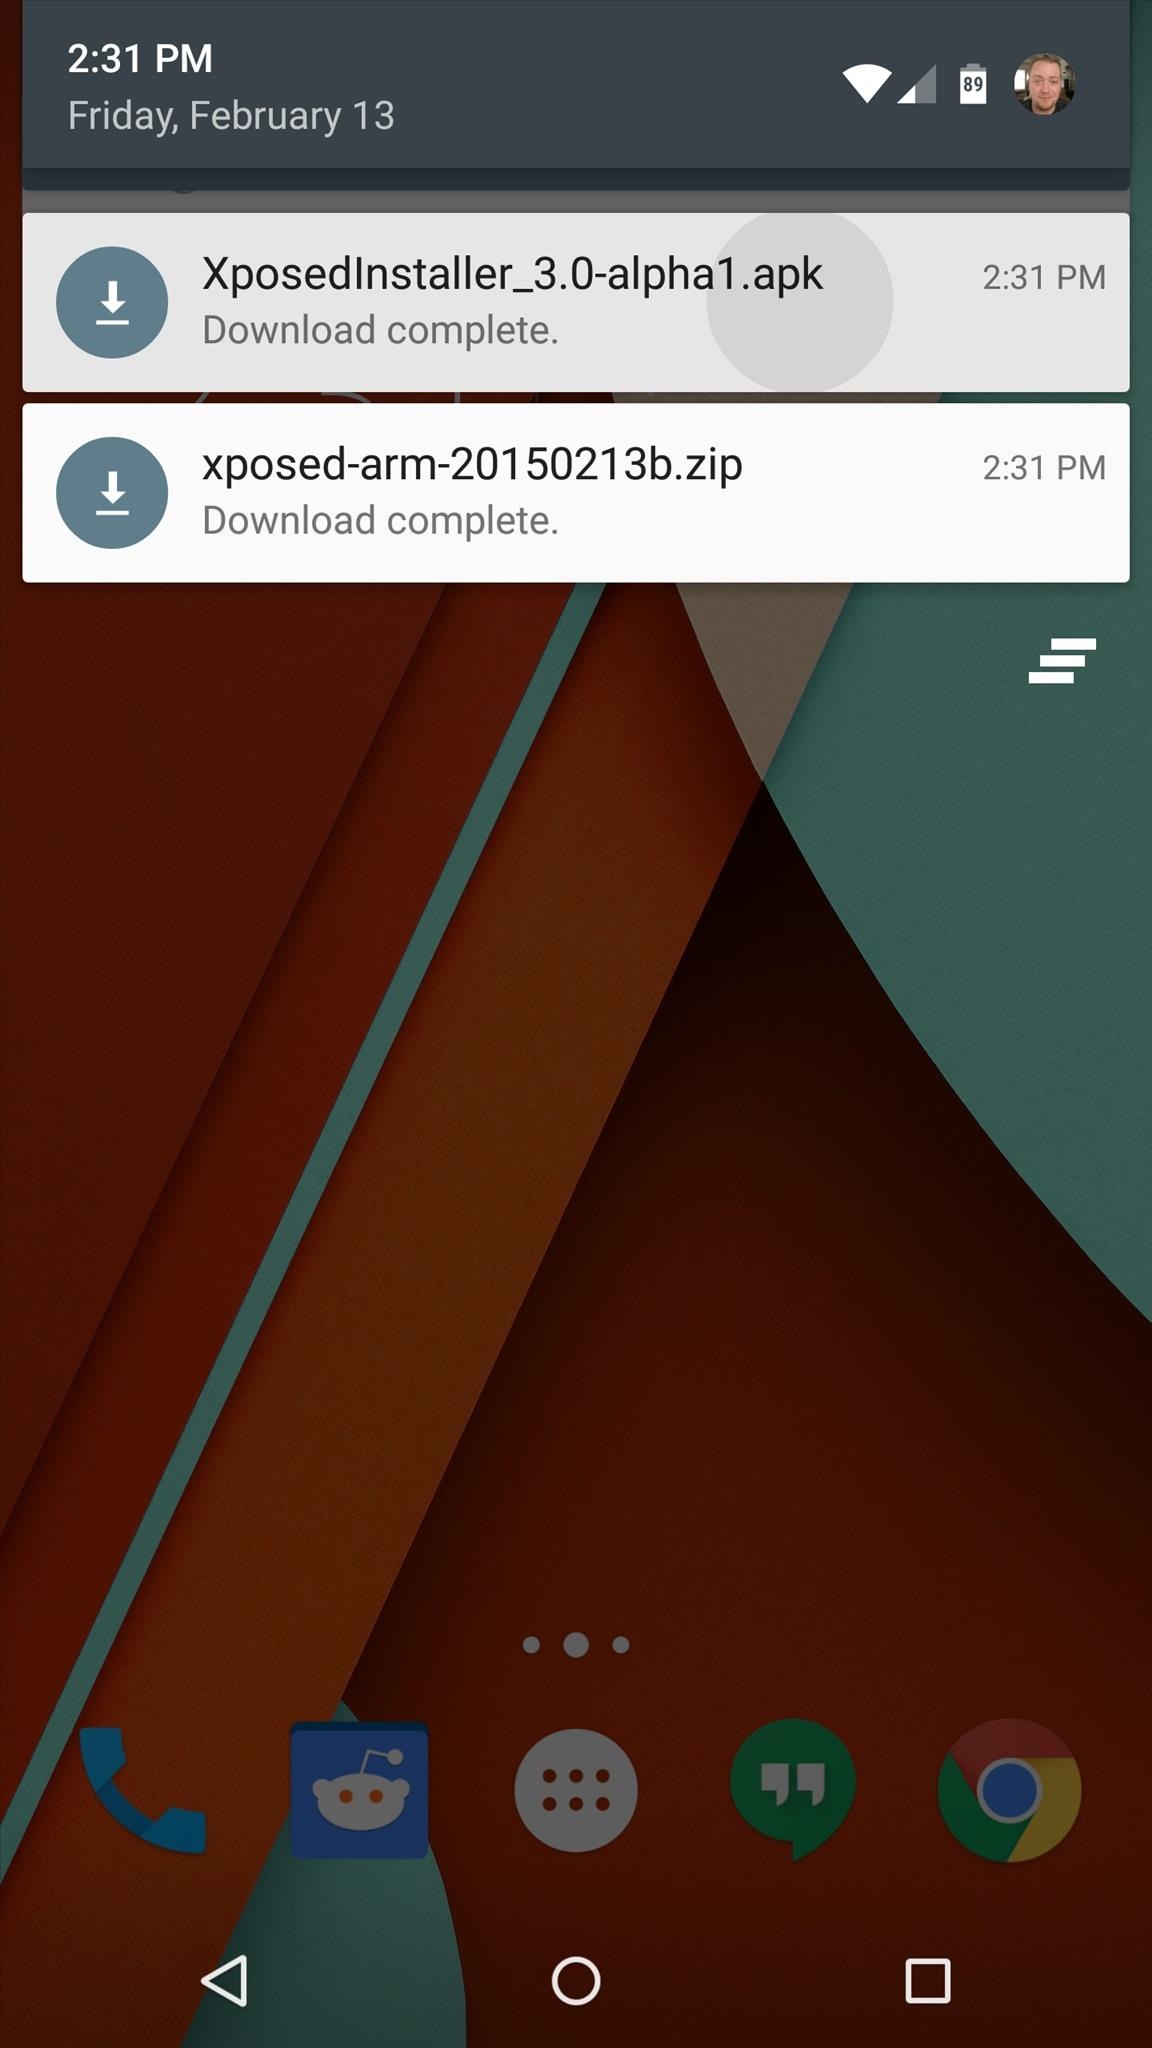
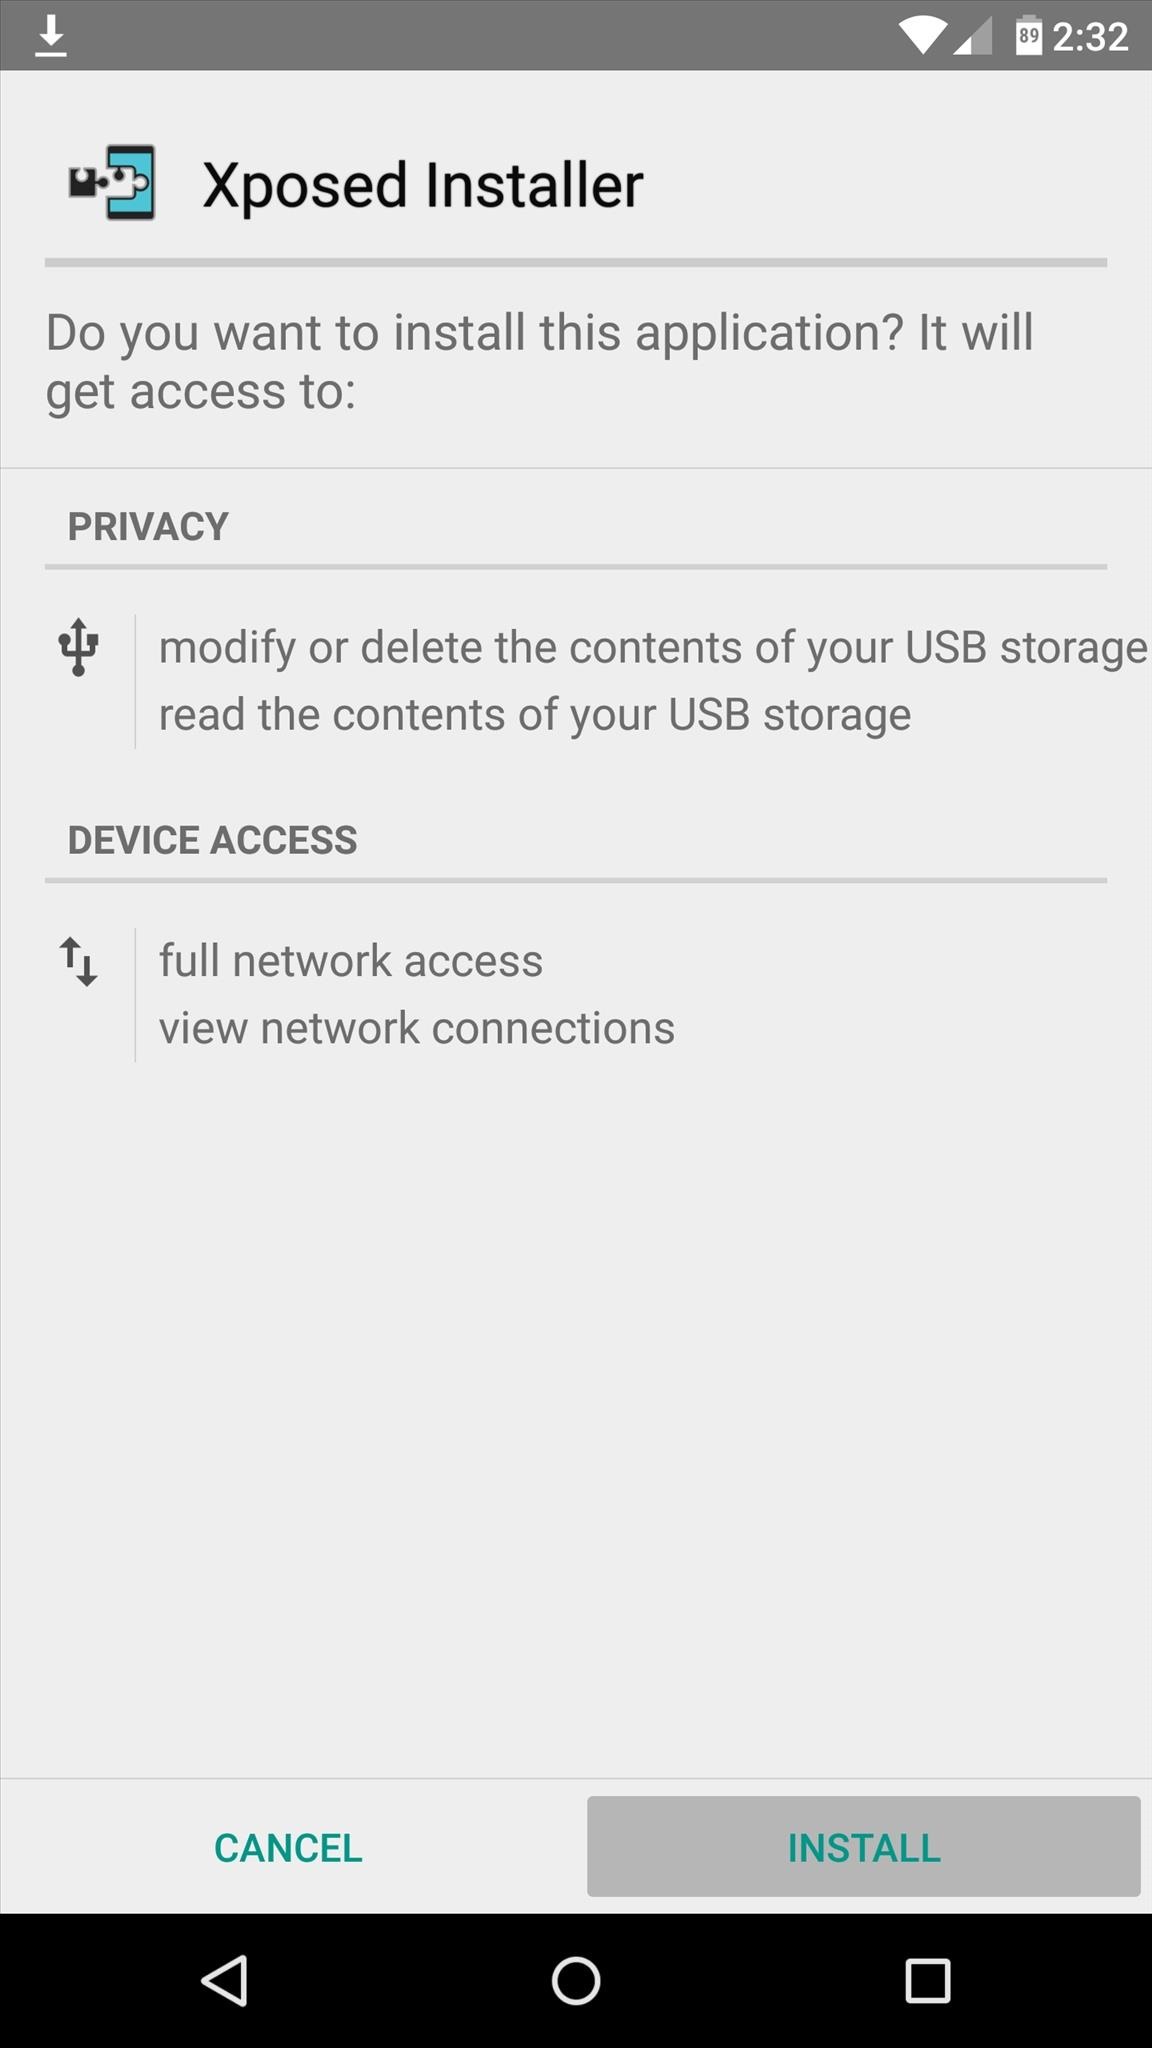
When you get back up, it's time to install the actual Xposed Installer app. Tap the Download Complete notification for the "XposedInstaller_3.0-alpha3.apk" file, then press "Install" and "Open" on the next two menus.
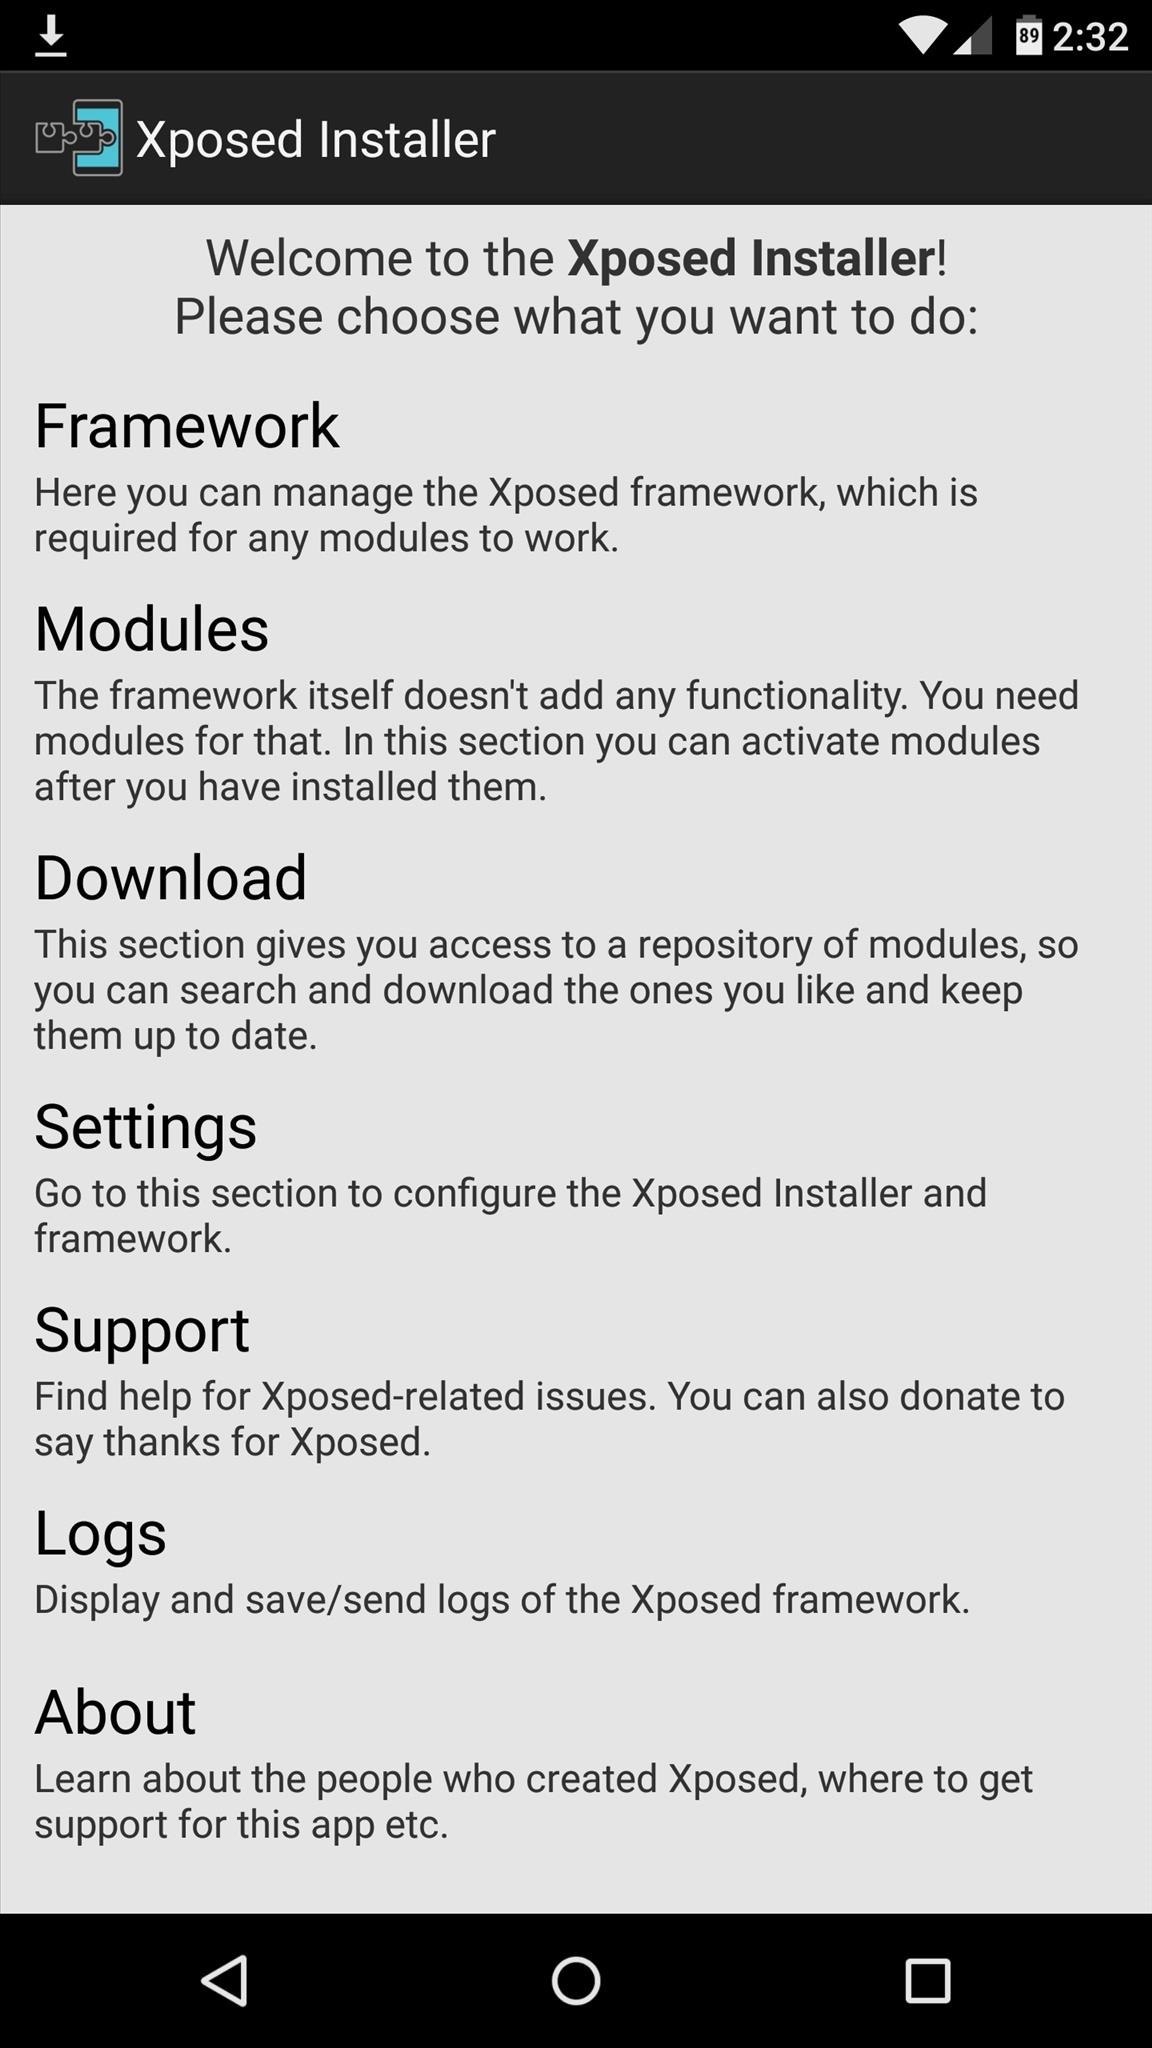
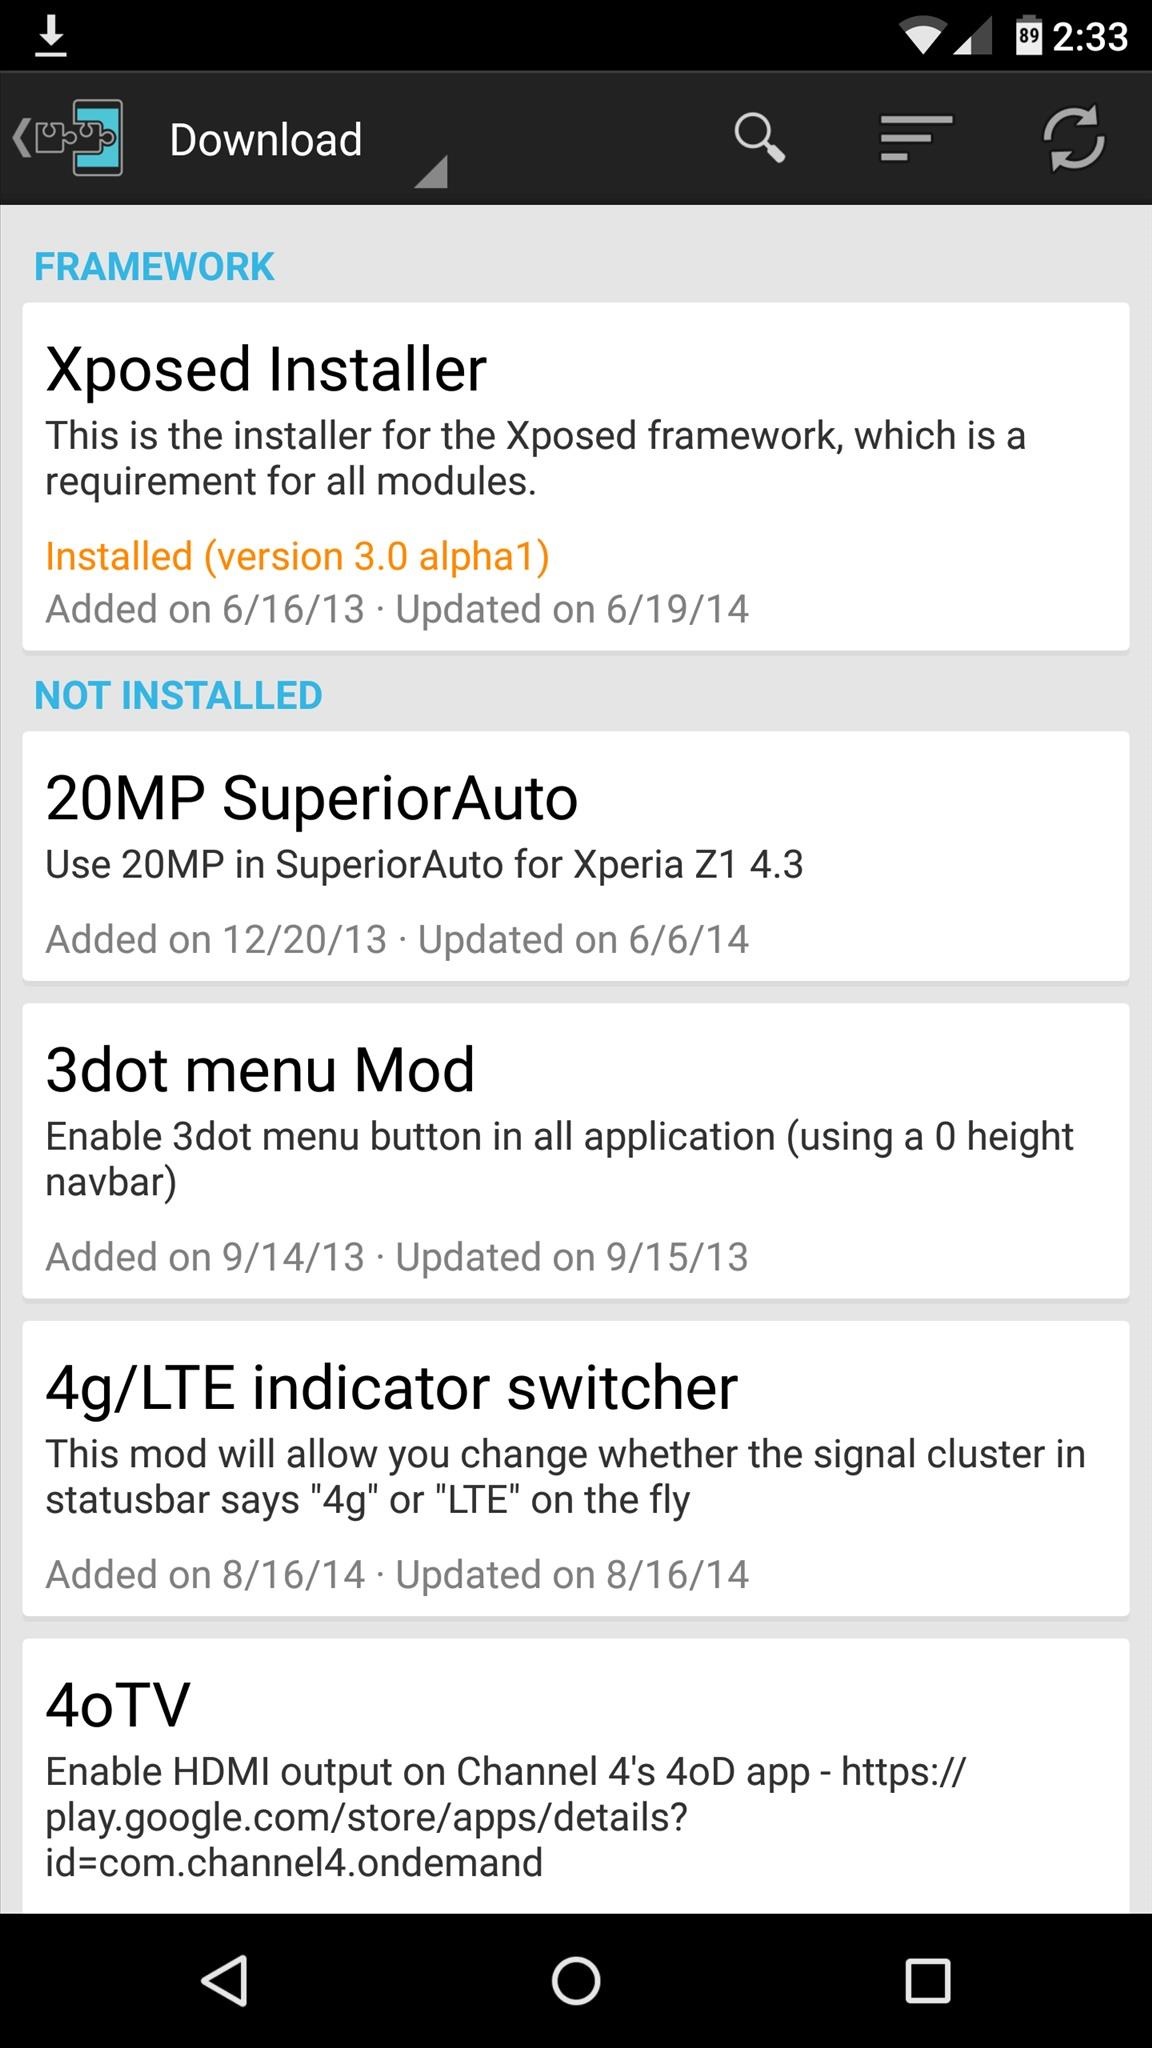
At this point, you should be looking at that familiar Xposed interface we all know and love. Head to the "Download" section to begin browsing modules, but keep in mind that some may not work on Lollipop.
CyanogenMod 12.1  for lava iris x8

CyanogenMod 12.1 for lava iris x8


CyanogenMod 12.1 Status:

Working:
- RIL: Telephony (Calls / etc) (2G and 3G) (In Both SIMs)
- ART
- Sensors
- LED's
- Rear Camera ( pictures )
- Front Camera ( pictures )
- FlashLight
- Sound
- Bluetooth
- Wifi
- Microphone (For Calls and in some apps)
- Data connection
- CyanogenMod related features (Theme Manager, etc ... )

Not Working / Needs Improvements :
- GPS
- Camcorder ( You can use 3rd party video recording apps from Play Store)
- USSD codes. only works in some Providers
-wifi looses password sometimes
-no fb calling and google voice search
other bugs tell me


Single / Dual SIM Behavior :

On Dual-SIM (when using both SIM slots) :
3G Will be forced to Slot 2 (Depending on your SIM Provider)
Data connection will only properly work on Slot 2 (Depending on your SIM Provider)

On Single-SIM (when using only one SIM slot) :
You can toggle between 2G / 3G just fine
Data connection will work just fine

Also when in Single-SIM and to avoid bugs with Data connection
Change this line in build.prop (/system):
Code:
persist.radio.multisim.config=dsds
to
Code:
#persist.radio.multisim.config=dsds


Flash Instructions:
Backup, Backup, Backup ...
You need to be on the Unofficial KitKat Base (due to the new KK partitions)
Put the zip file on external SDCard
Flash with ctr recovery for iris x8
Full Wipes
Flash Rom
Flash minimal GAPPS 5.1
Enjoy
 ** note : install xinternalsd and xposed after flashing cm12.1 rom to avoid bugs 
xinternalsd:- https://drive.google.com/open?id=0B5...DBRcjFGc09mNU0
xposed :-http://mylavax8.blogspot.in/2015/07/xposed-for-lollipop-cm-12.html

Making Our device a bit better

Making Our device a bit better

*Thanks to slad480

Features 

- Full memory management.
-Linux kernel tweaks and improvements for better performance and battery life.
- Entropy generator engine used to reduce lags.
- Zipalign apps in "/system" and apps in "/data" every 48 hours which result in less RAM usage.
- Sqlite optimizations and faster database access.
- CPU governors tweaks and improvements for better performance and battery life.
- Increased SD Card read-ahead cache to 2048 KB .
- Ad blocking.
- Build.prop tweaks and improvements.
- Cleans log files and tombstones at every boot.
- Many other tweaks for better performance and battery life!


How to install :

Before Flashing please do a nandroid backup to avoid any incompatibility issues.
1. Download the Fly-On Mod main pack and sqlite pack according to your phone's Android version.
2. Rebooting into recovery mod.
3. Install Signed_Fly-On_Mod_V4.0-Alphax.zip and sqlite_xversion.
4. Reboot and feel the smoothness!


link to flashable zip
orignal xda thread http://forum.xda-developers.com/showthread.php?t=2226373
* I M NOT RESPONSIBLE FOR BRICKED DEVICES